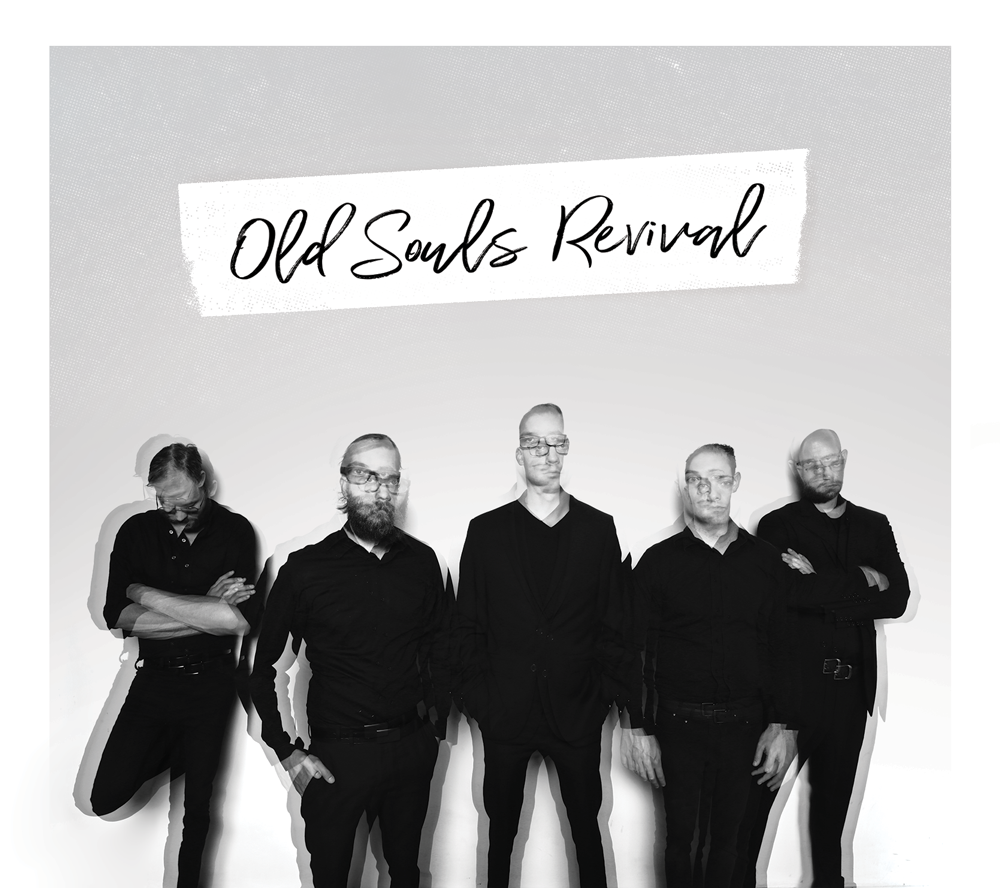
Album art
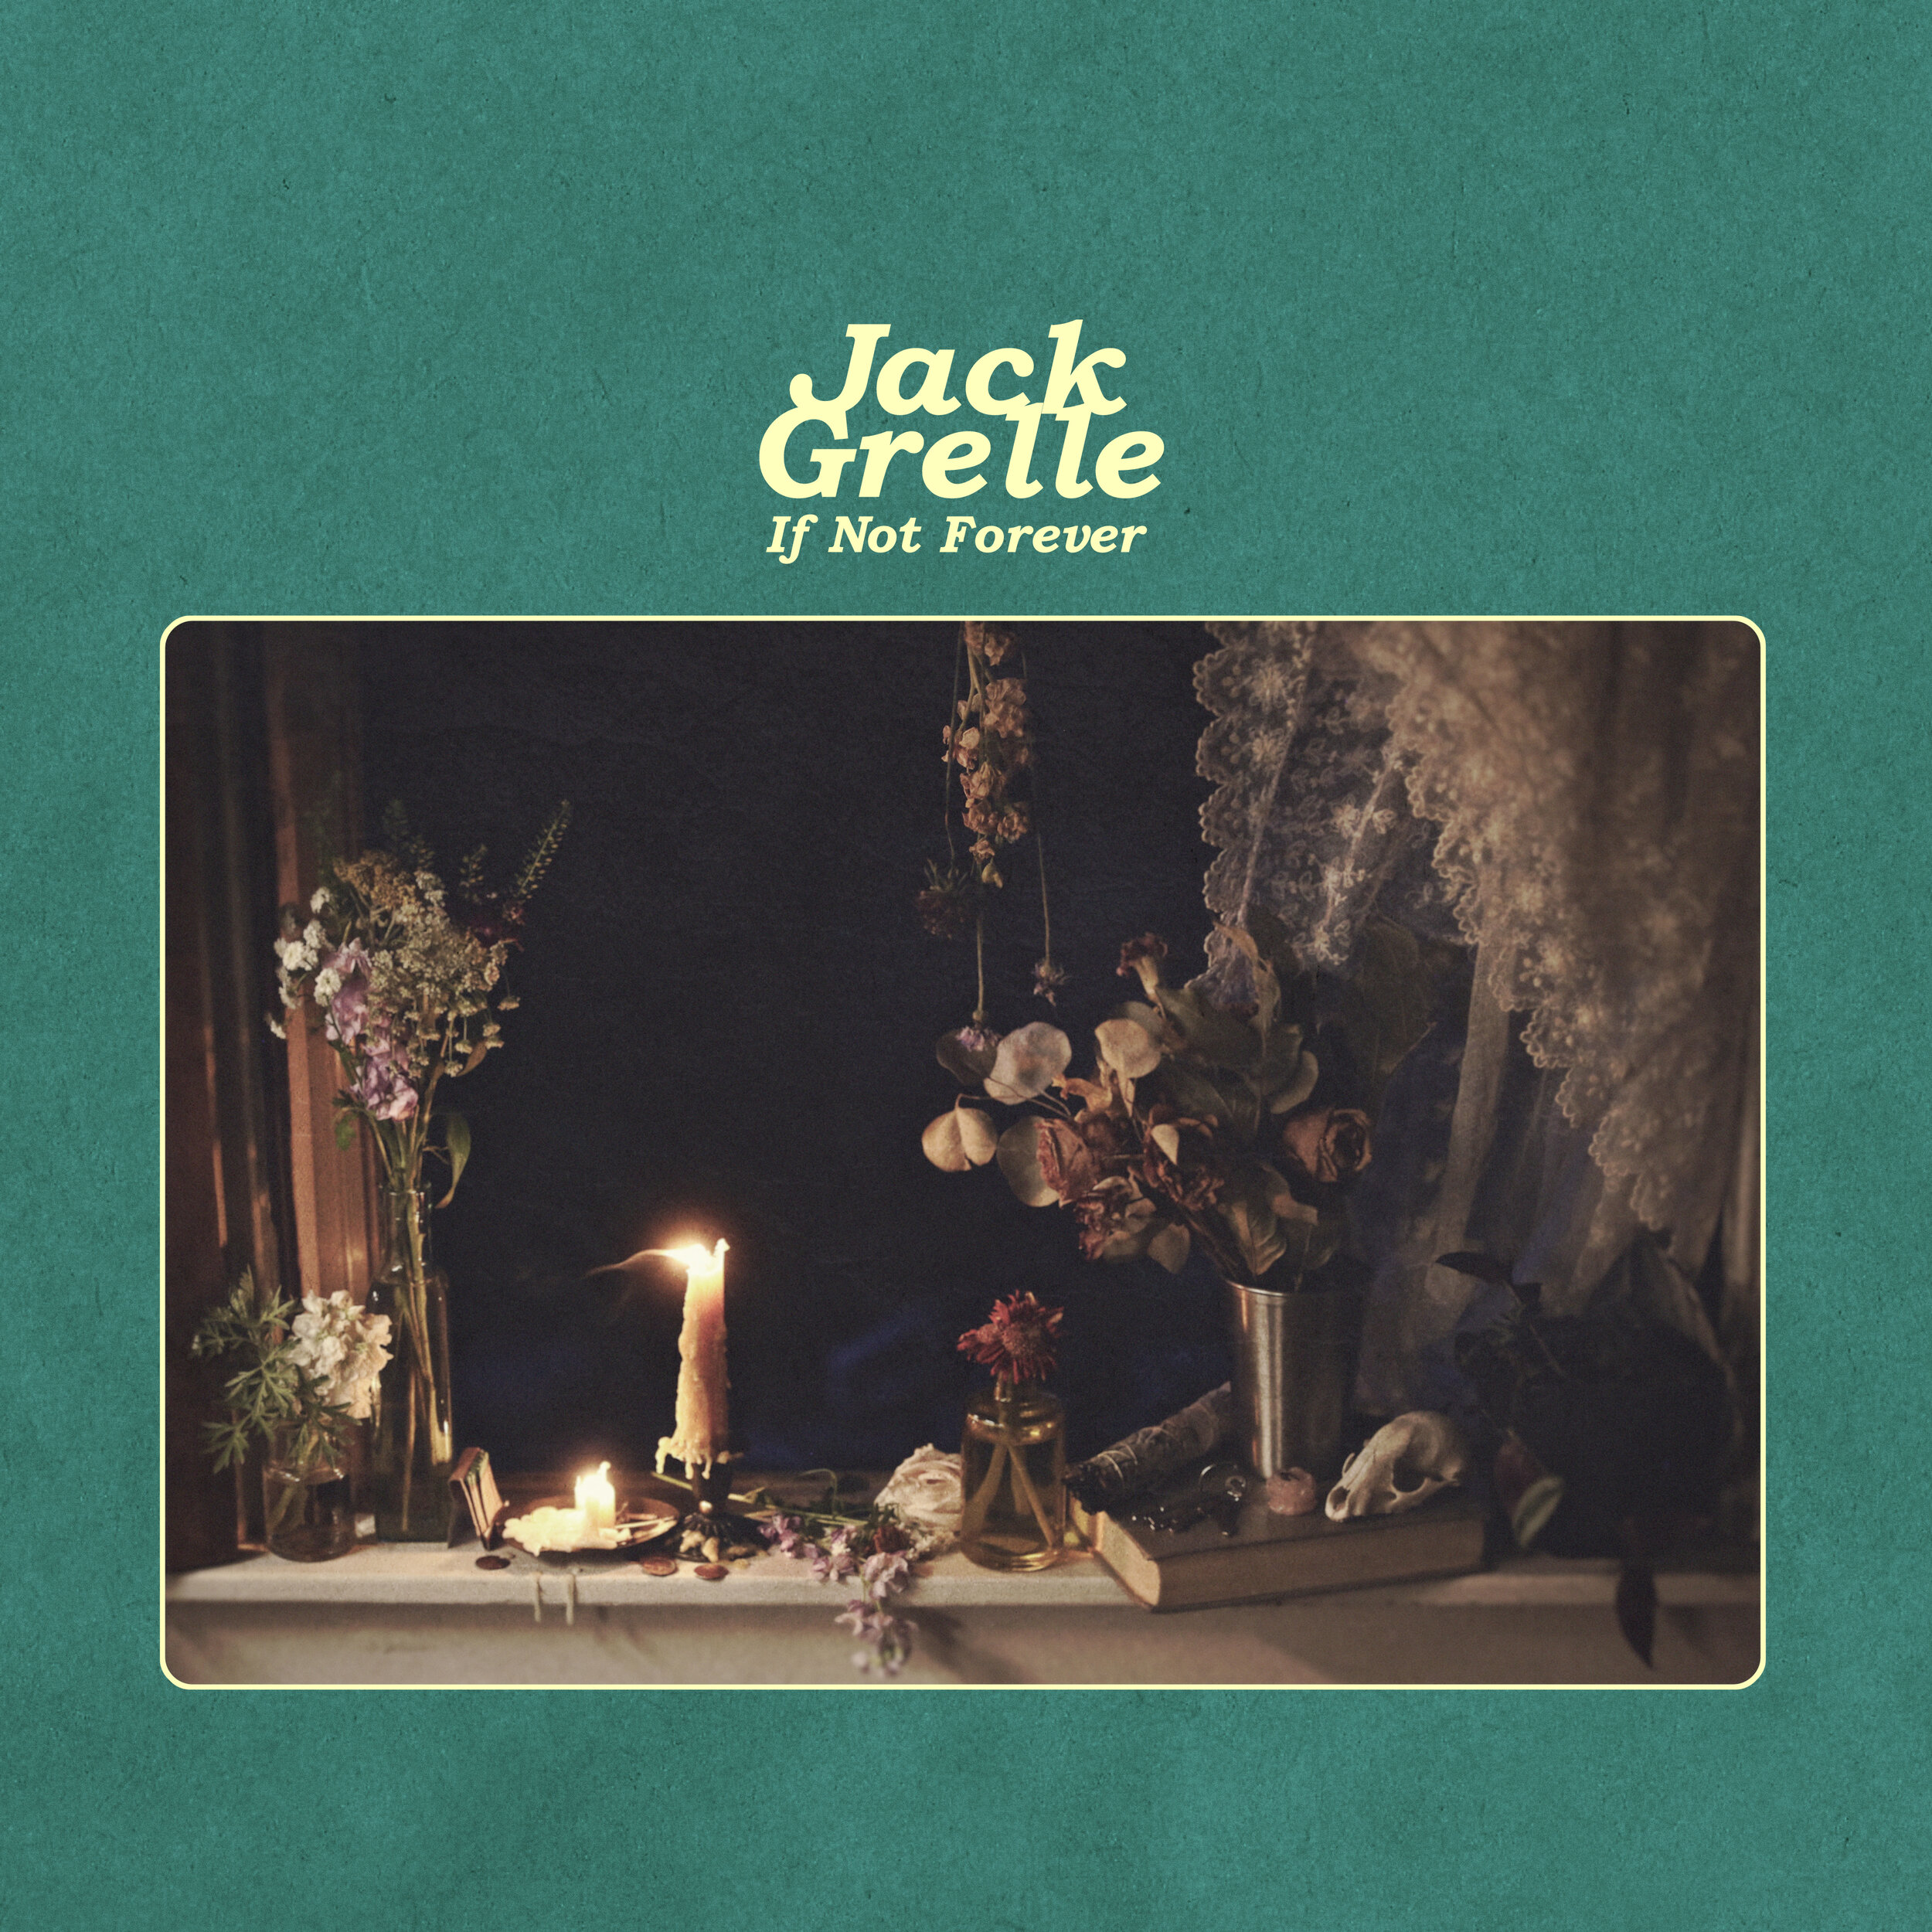
If Not Forever (2020)
Photos: Nate Burrell / Layout & Design: Barna Howard
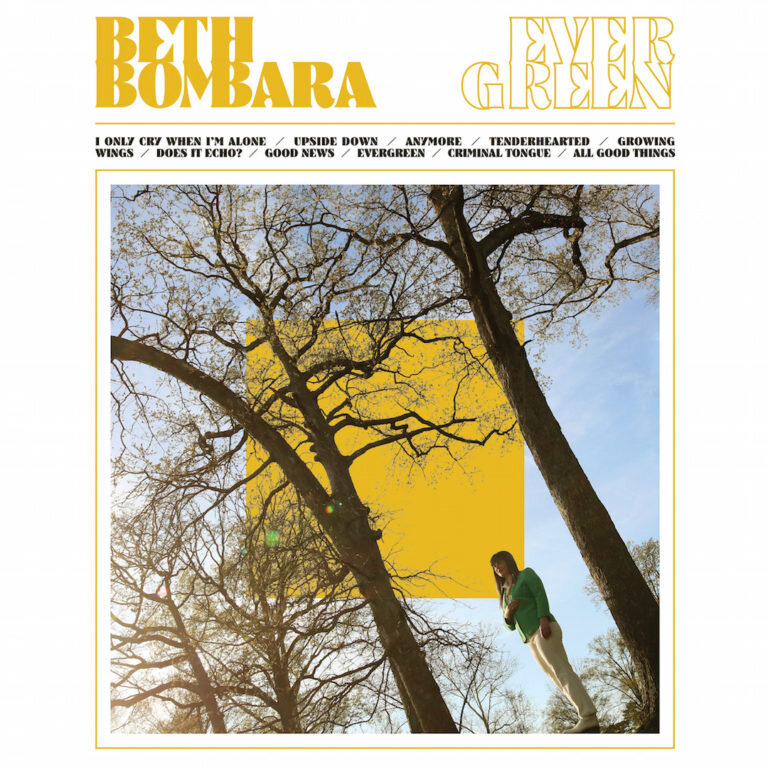
Evergreen (2019)
Photos: Nate Burrell / Layout & Design: SamO
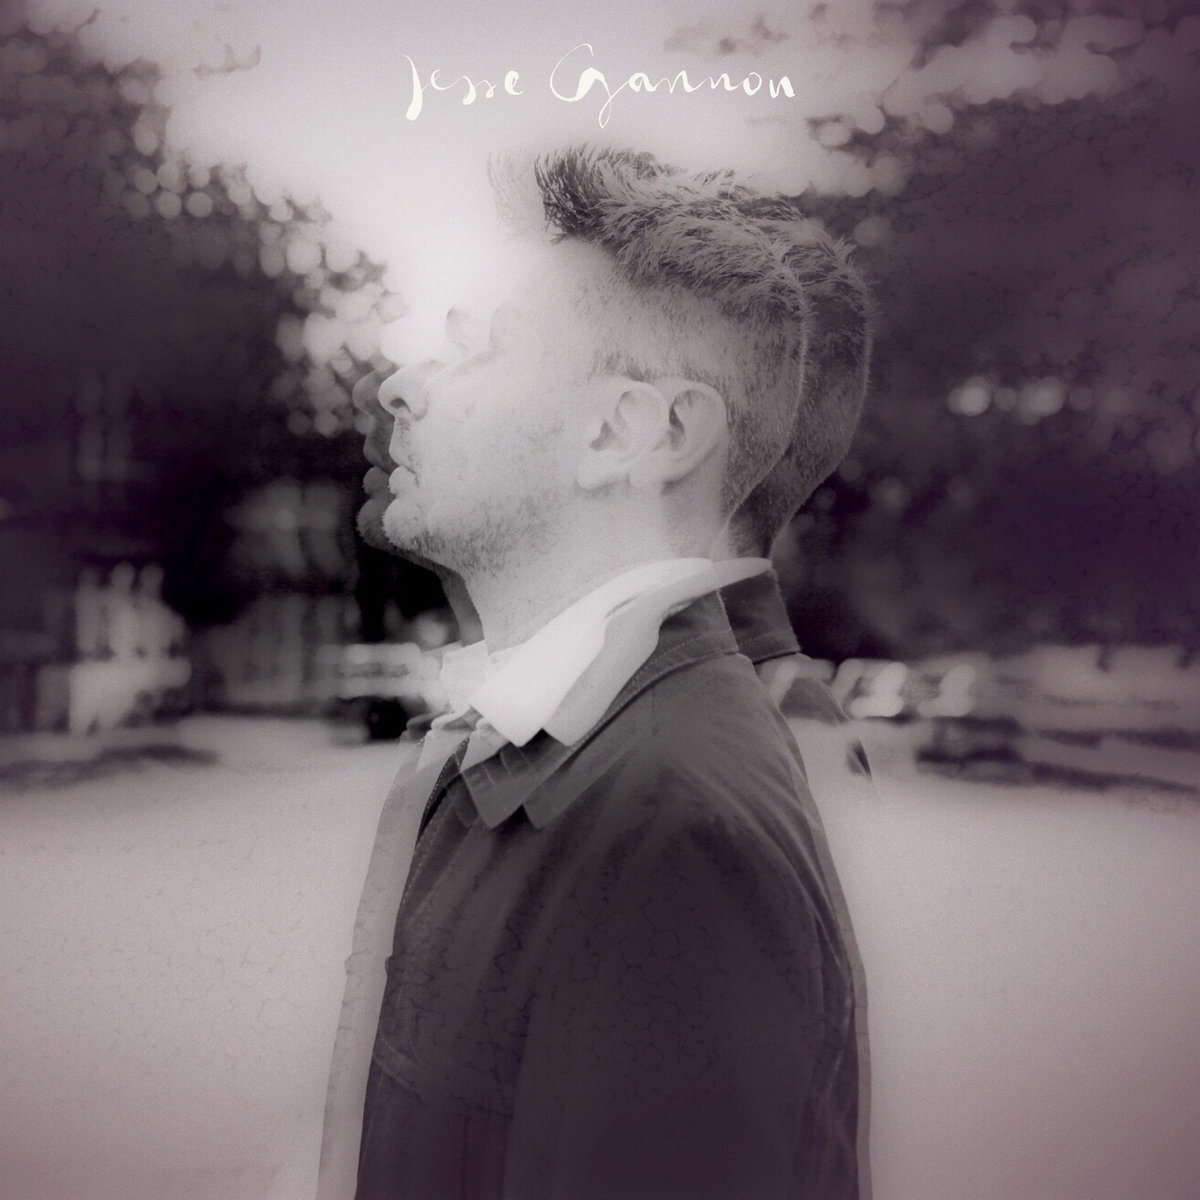
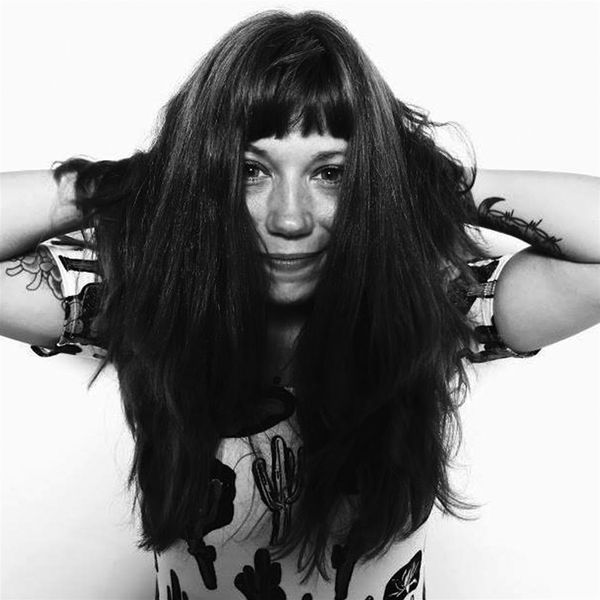
Jess Gannon (2019)
Photos: Nate Burrell / Layout & Design: Yoruba Soul Records
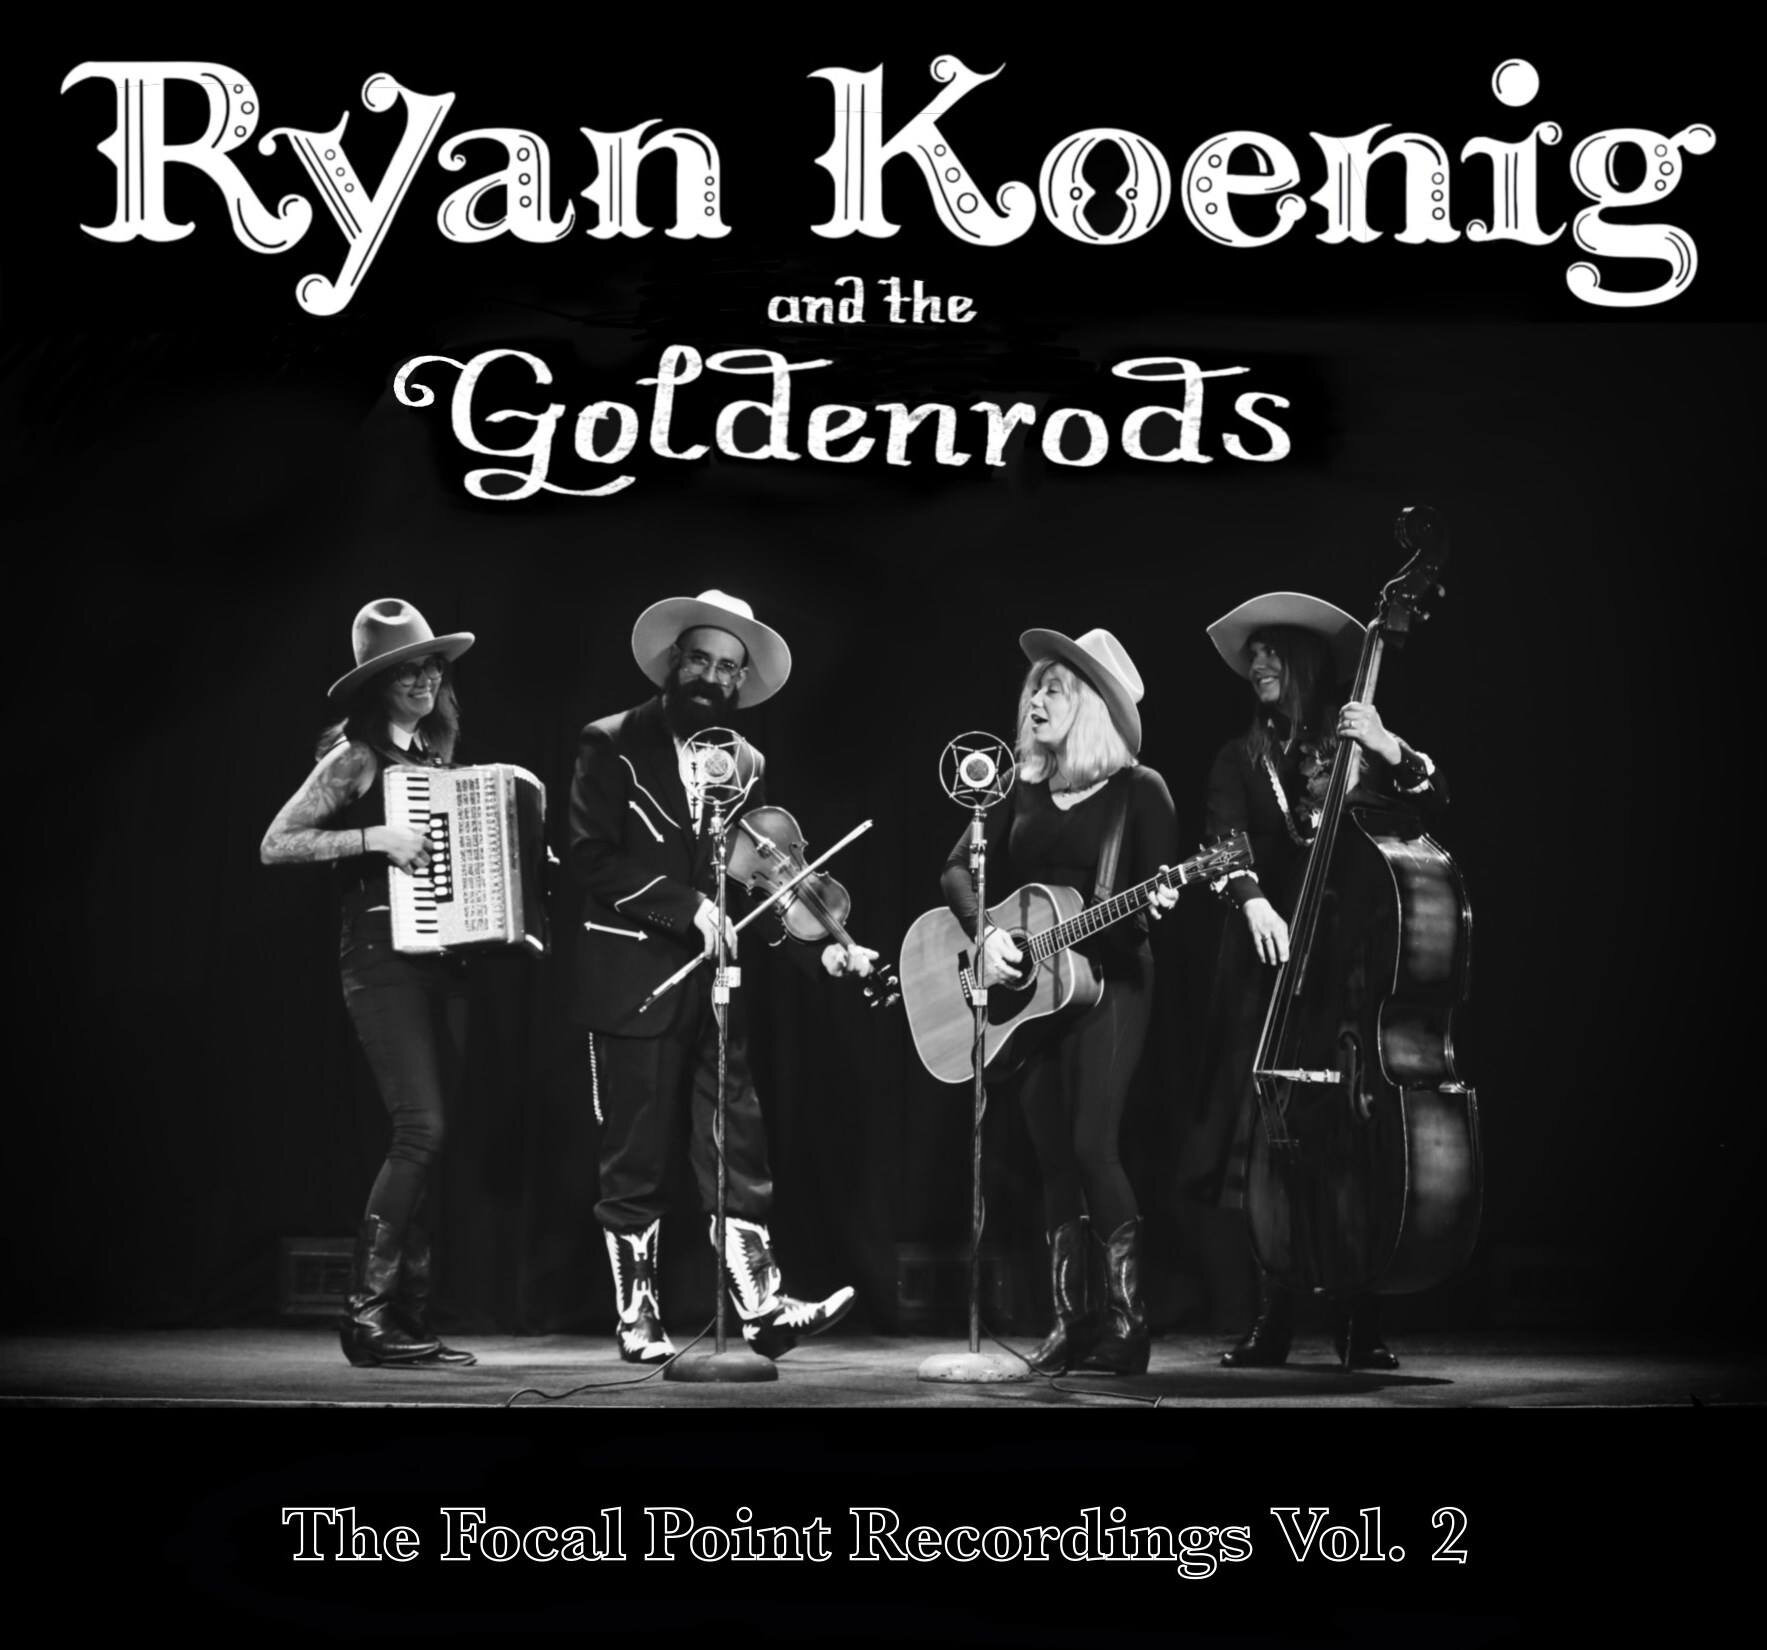
Focal Point Recordings: Vol.2 (2019)
Photos: Nate Burrell / Layout & Design: Jess Adkins
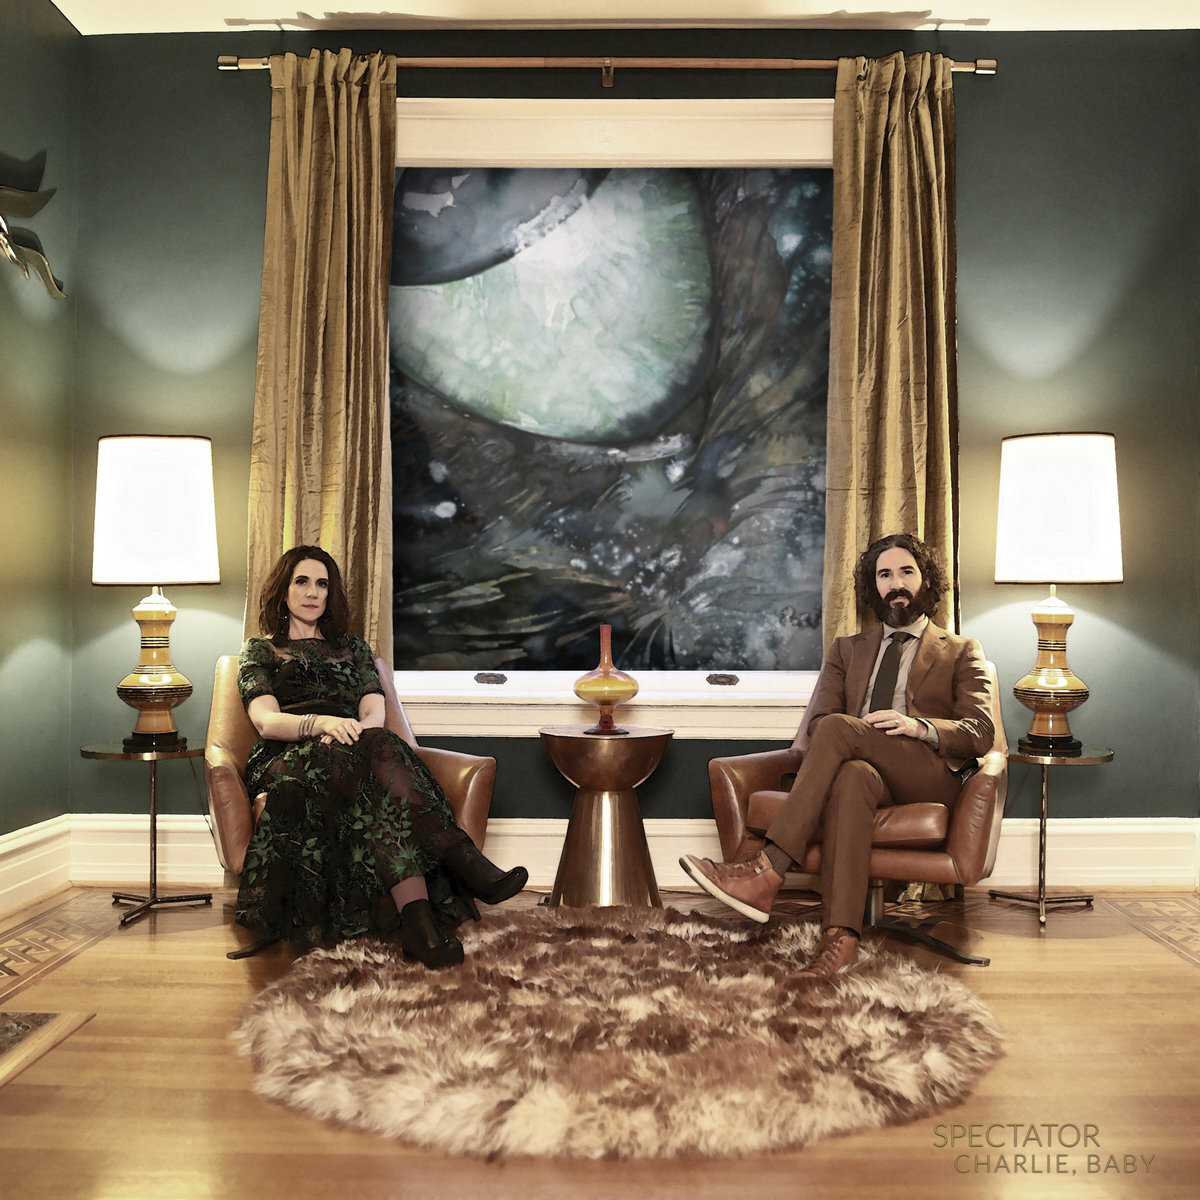
Charlie, Baby (2019)
Photos: Nate Burrell / Layout & Design: Ted Carstensen
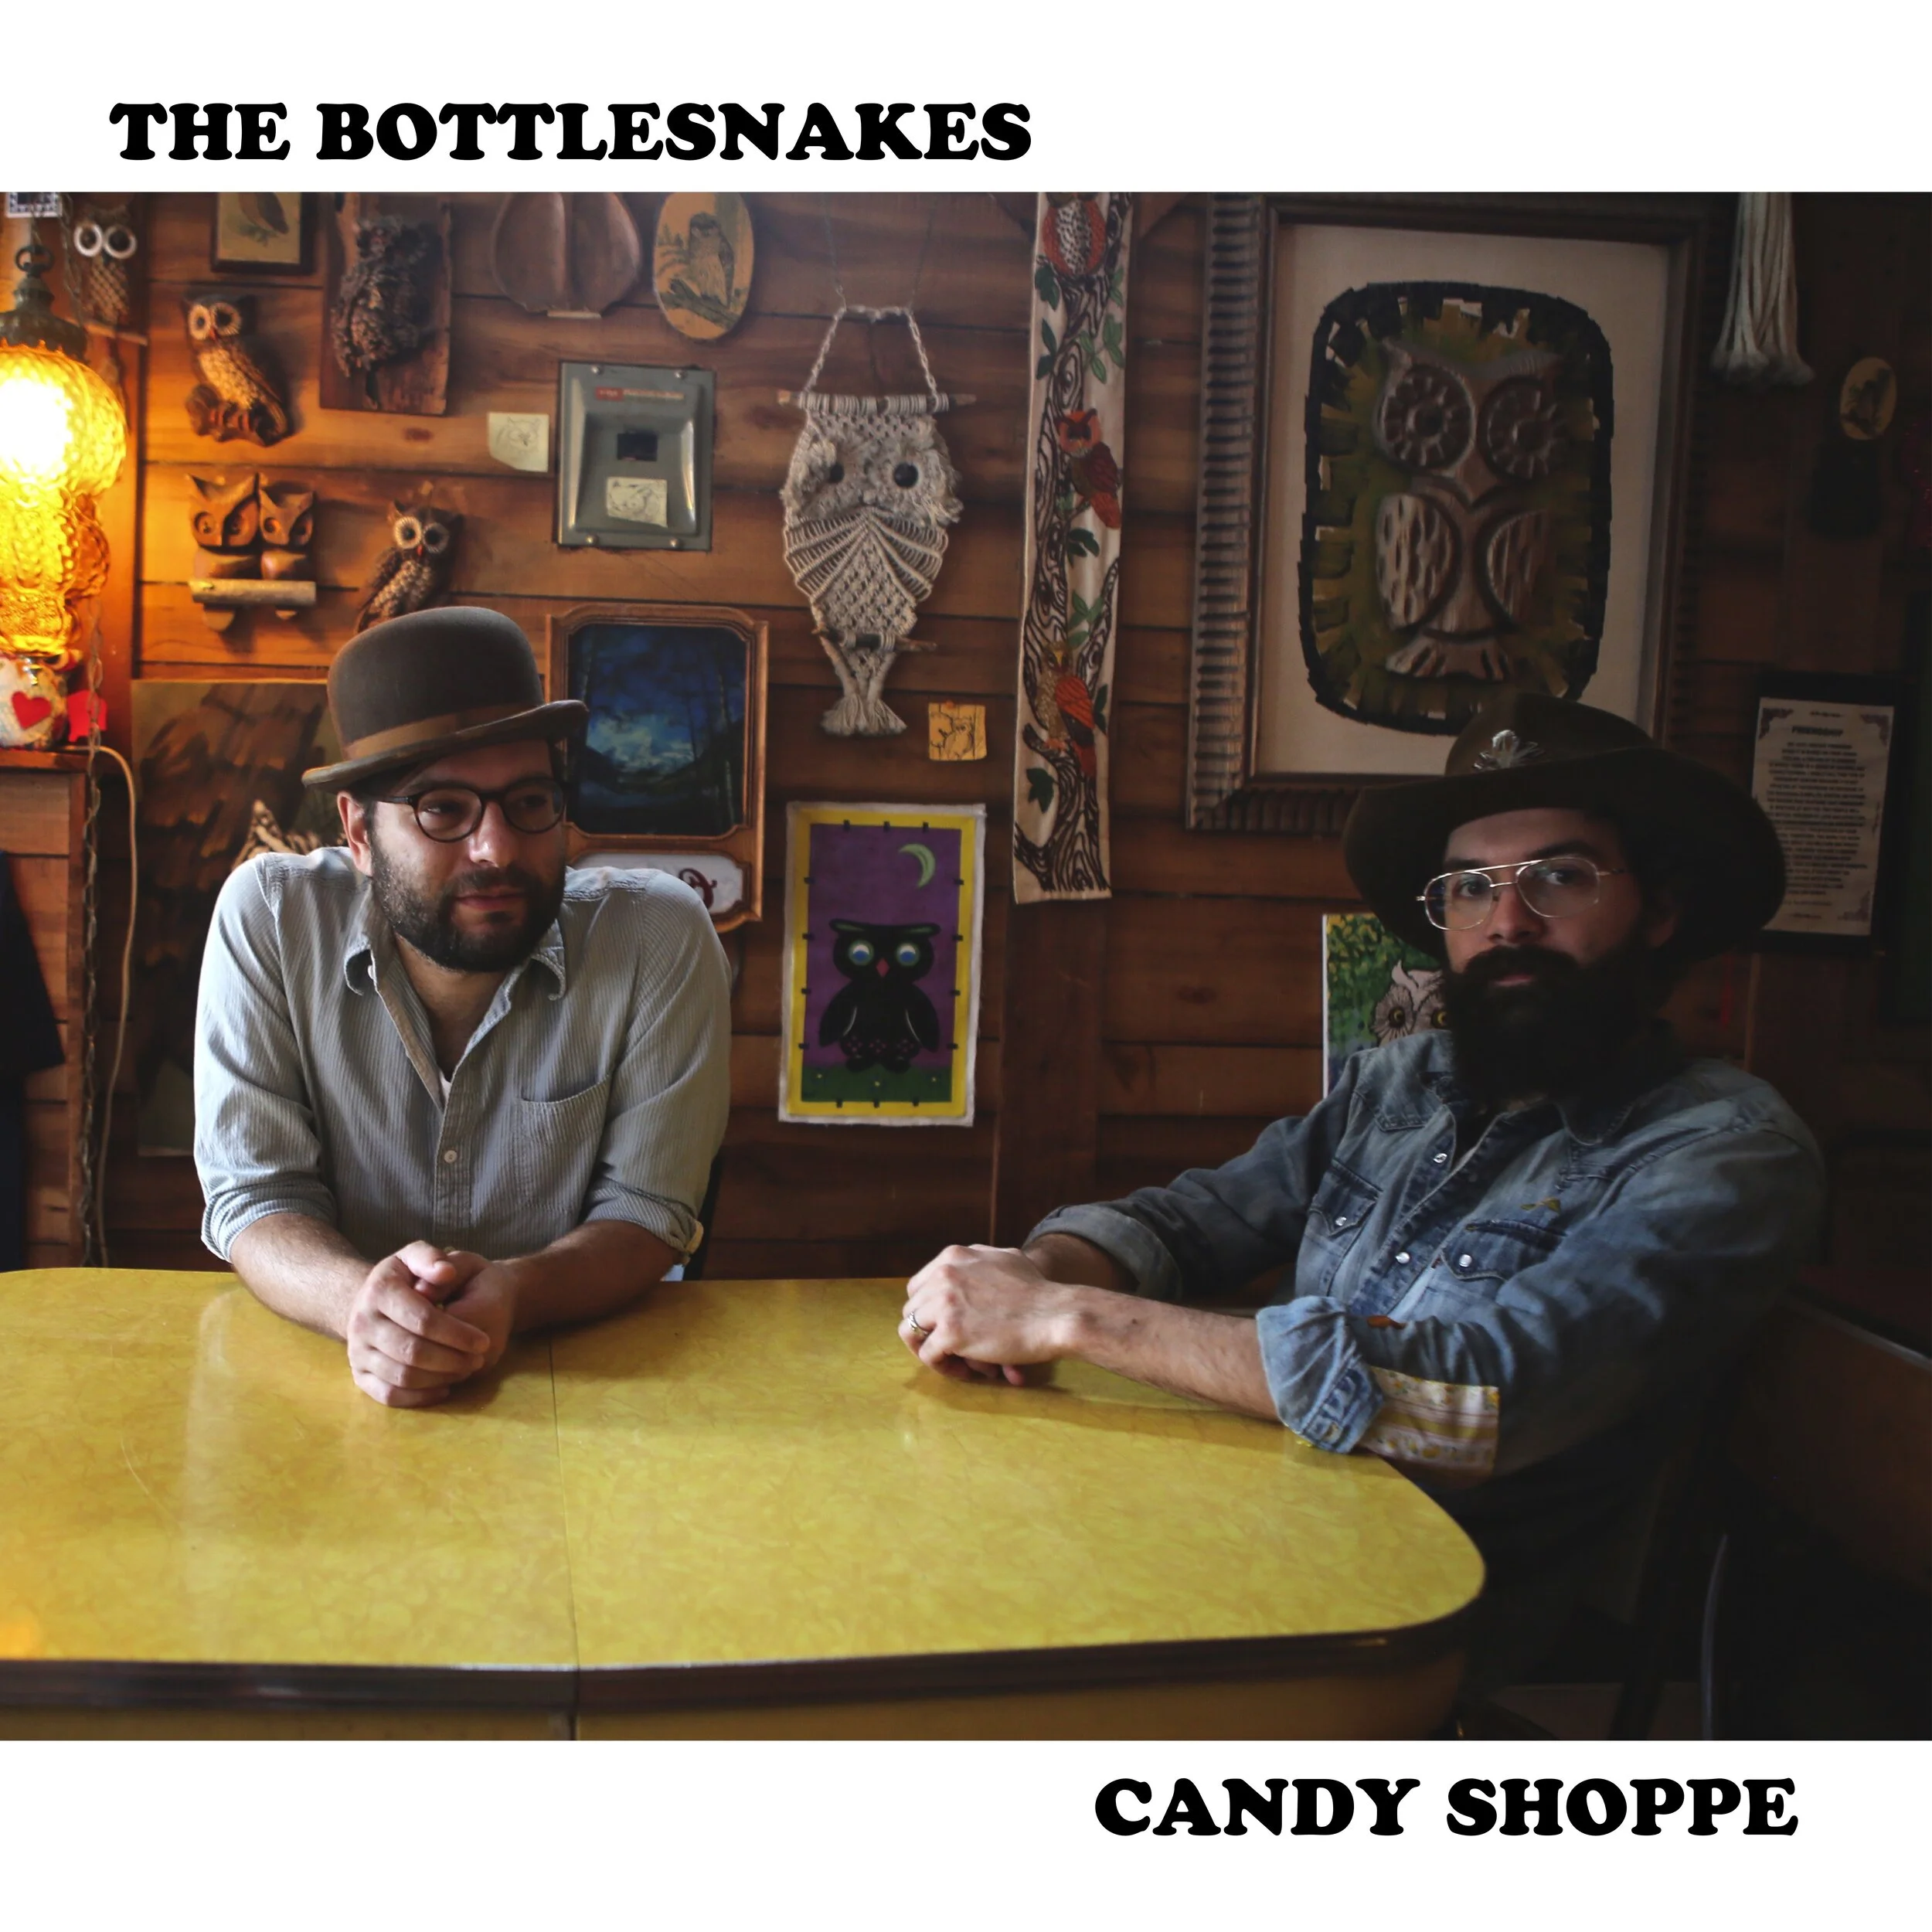
Candy Shoppe (2019)
Photos: Nate Burrell / Layout & Design: The Bottlesnakes
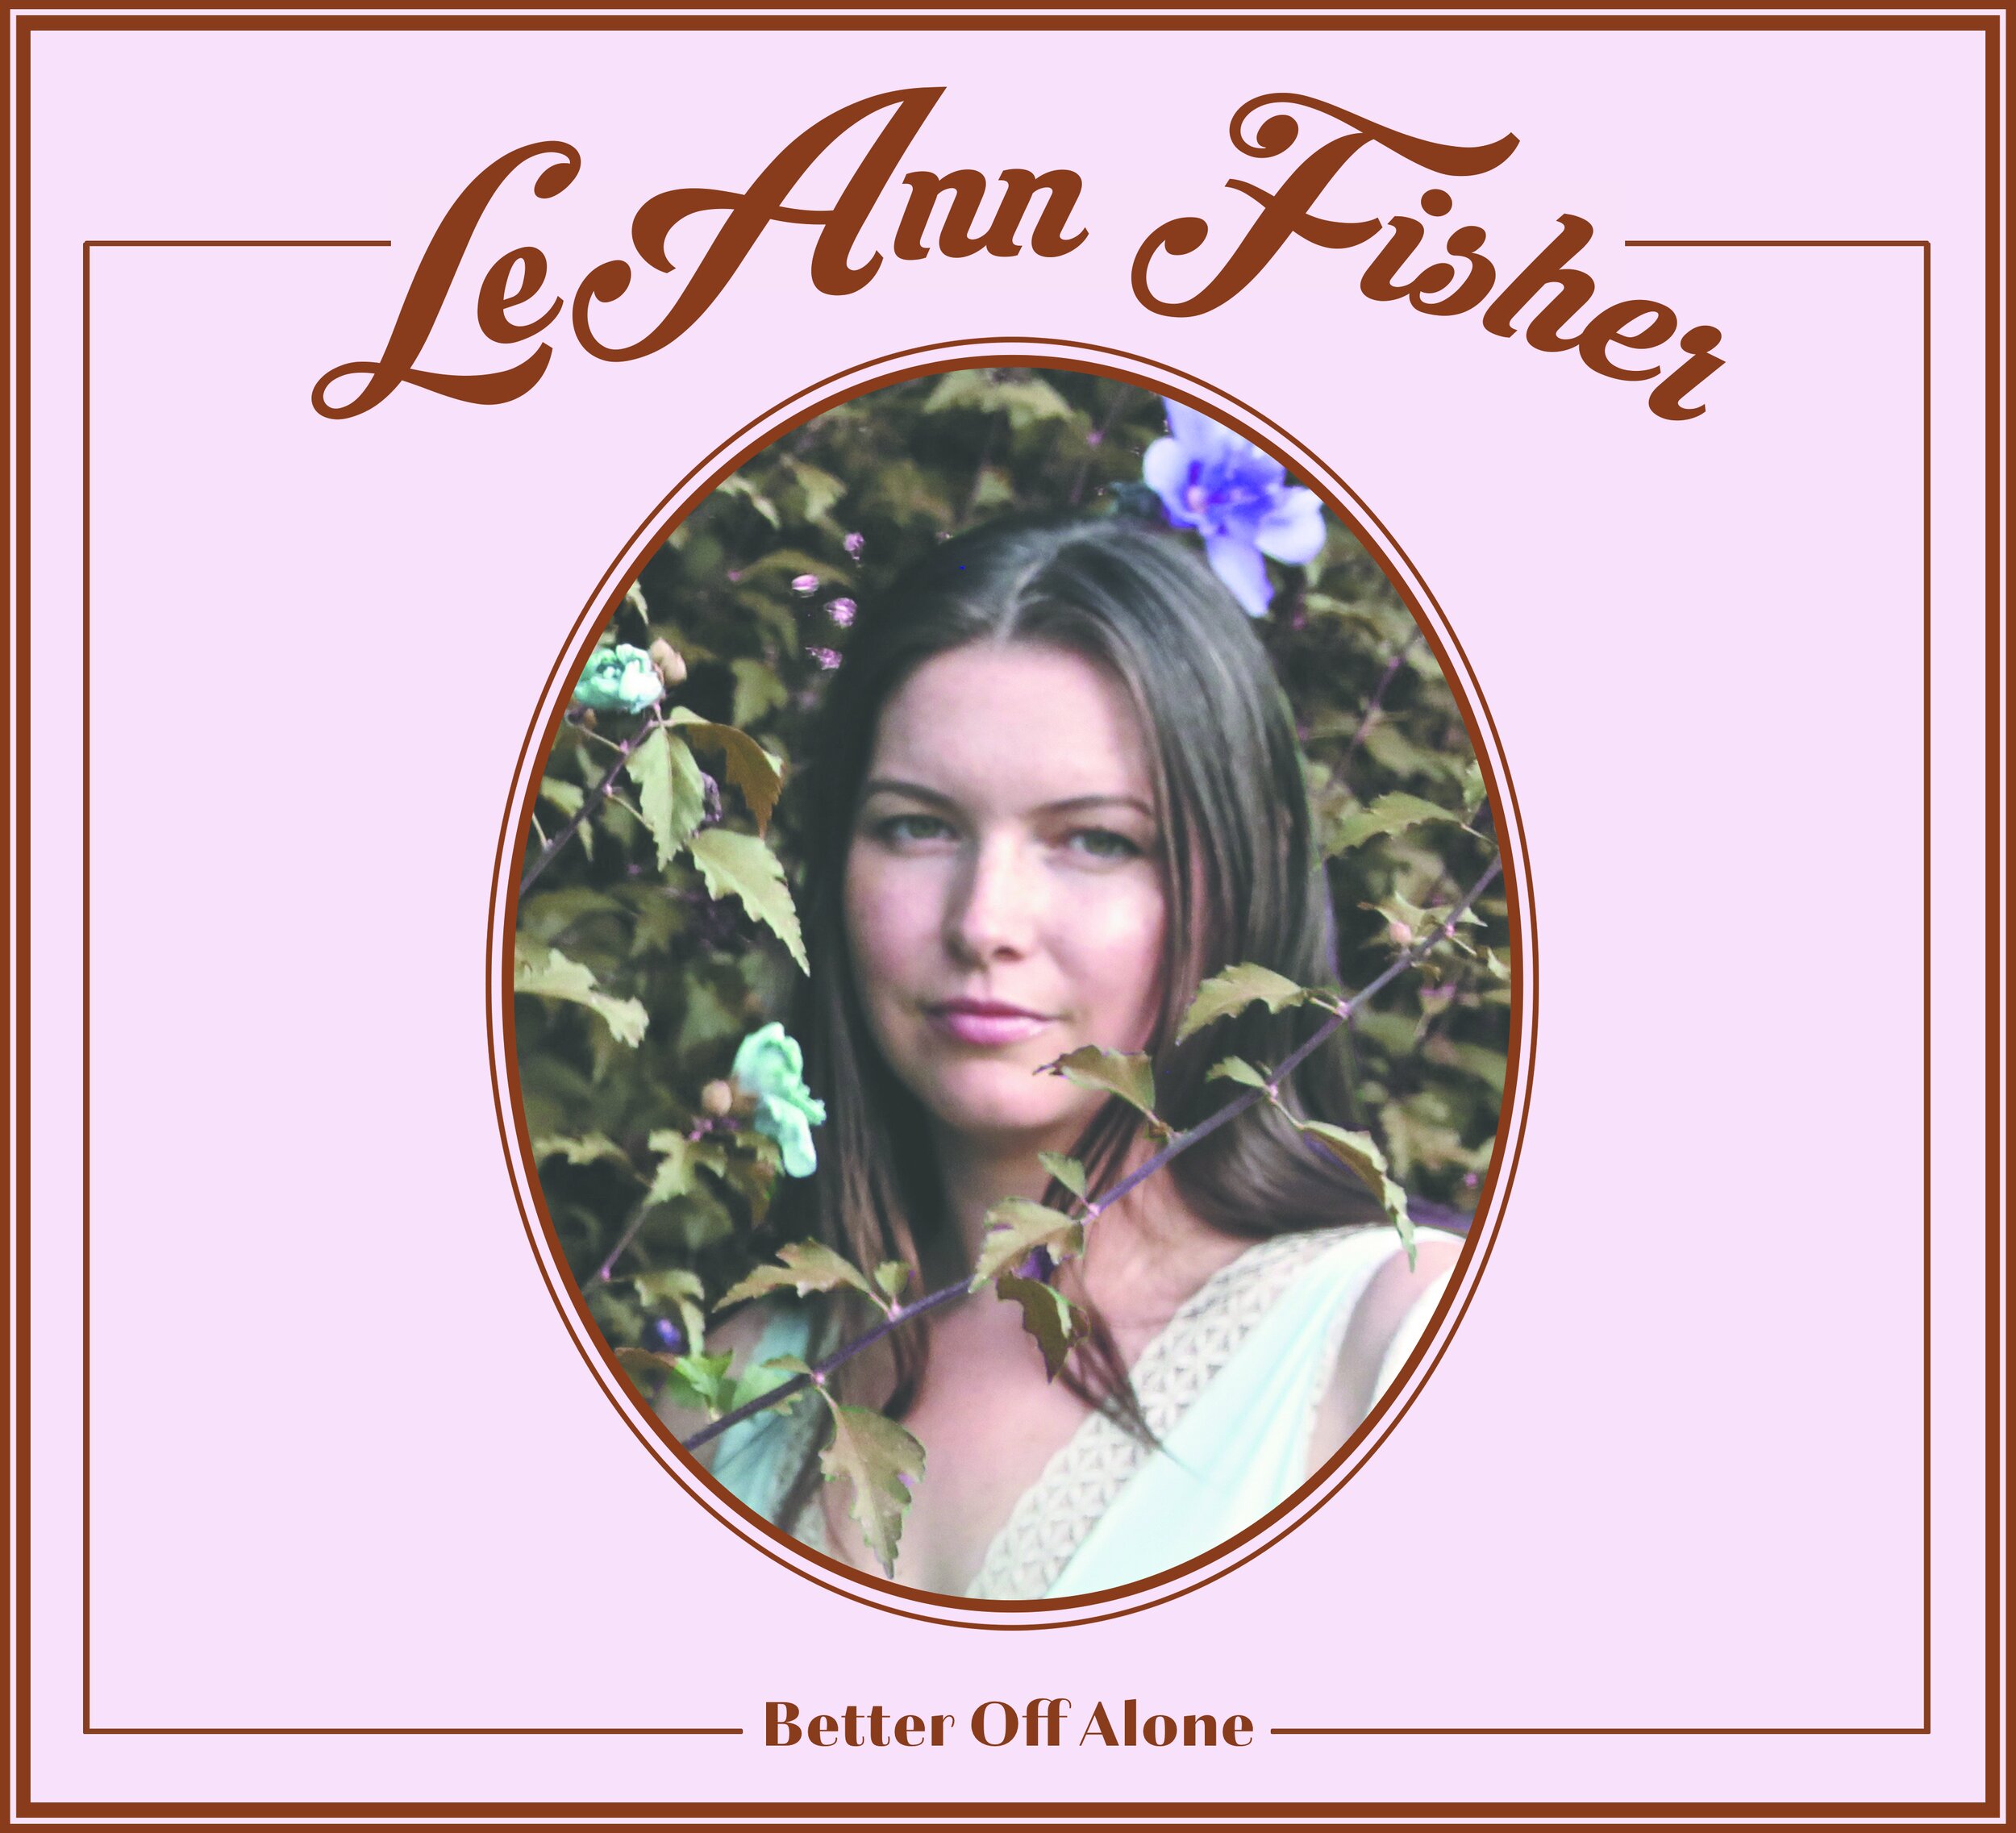
Better Off Alone (2019)
Photos: Nate Burrell / Layout & Design: Julia Van Horn

The Colony 7” (2018)
Photos: Nate Burrell / Layout & Design: Shaun Durkan
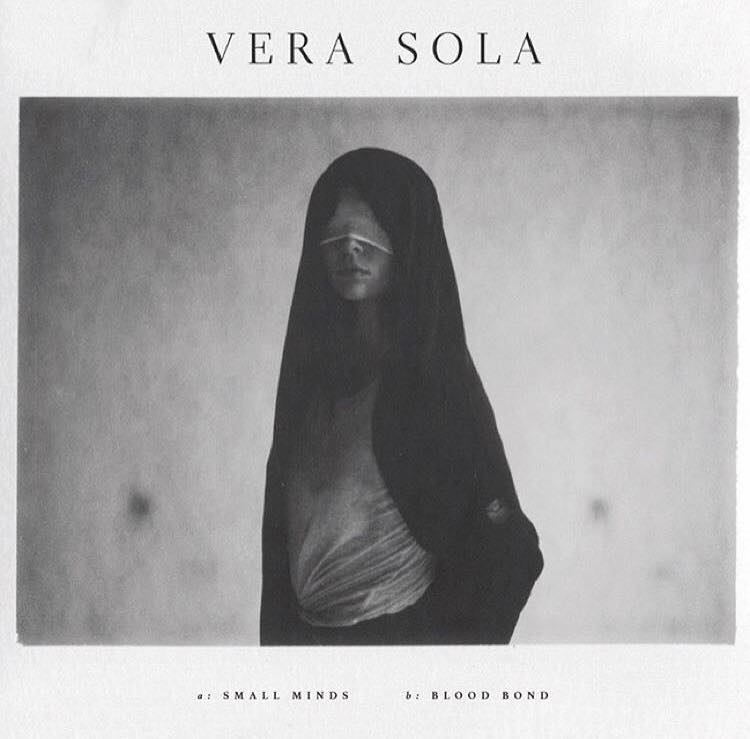
Small Minds 7” (2018)
Photos: Nate Burrell / Layout & Design: Shaun Durkan
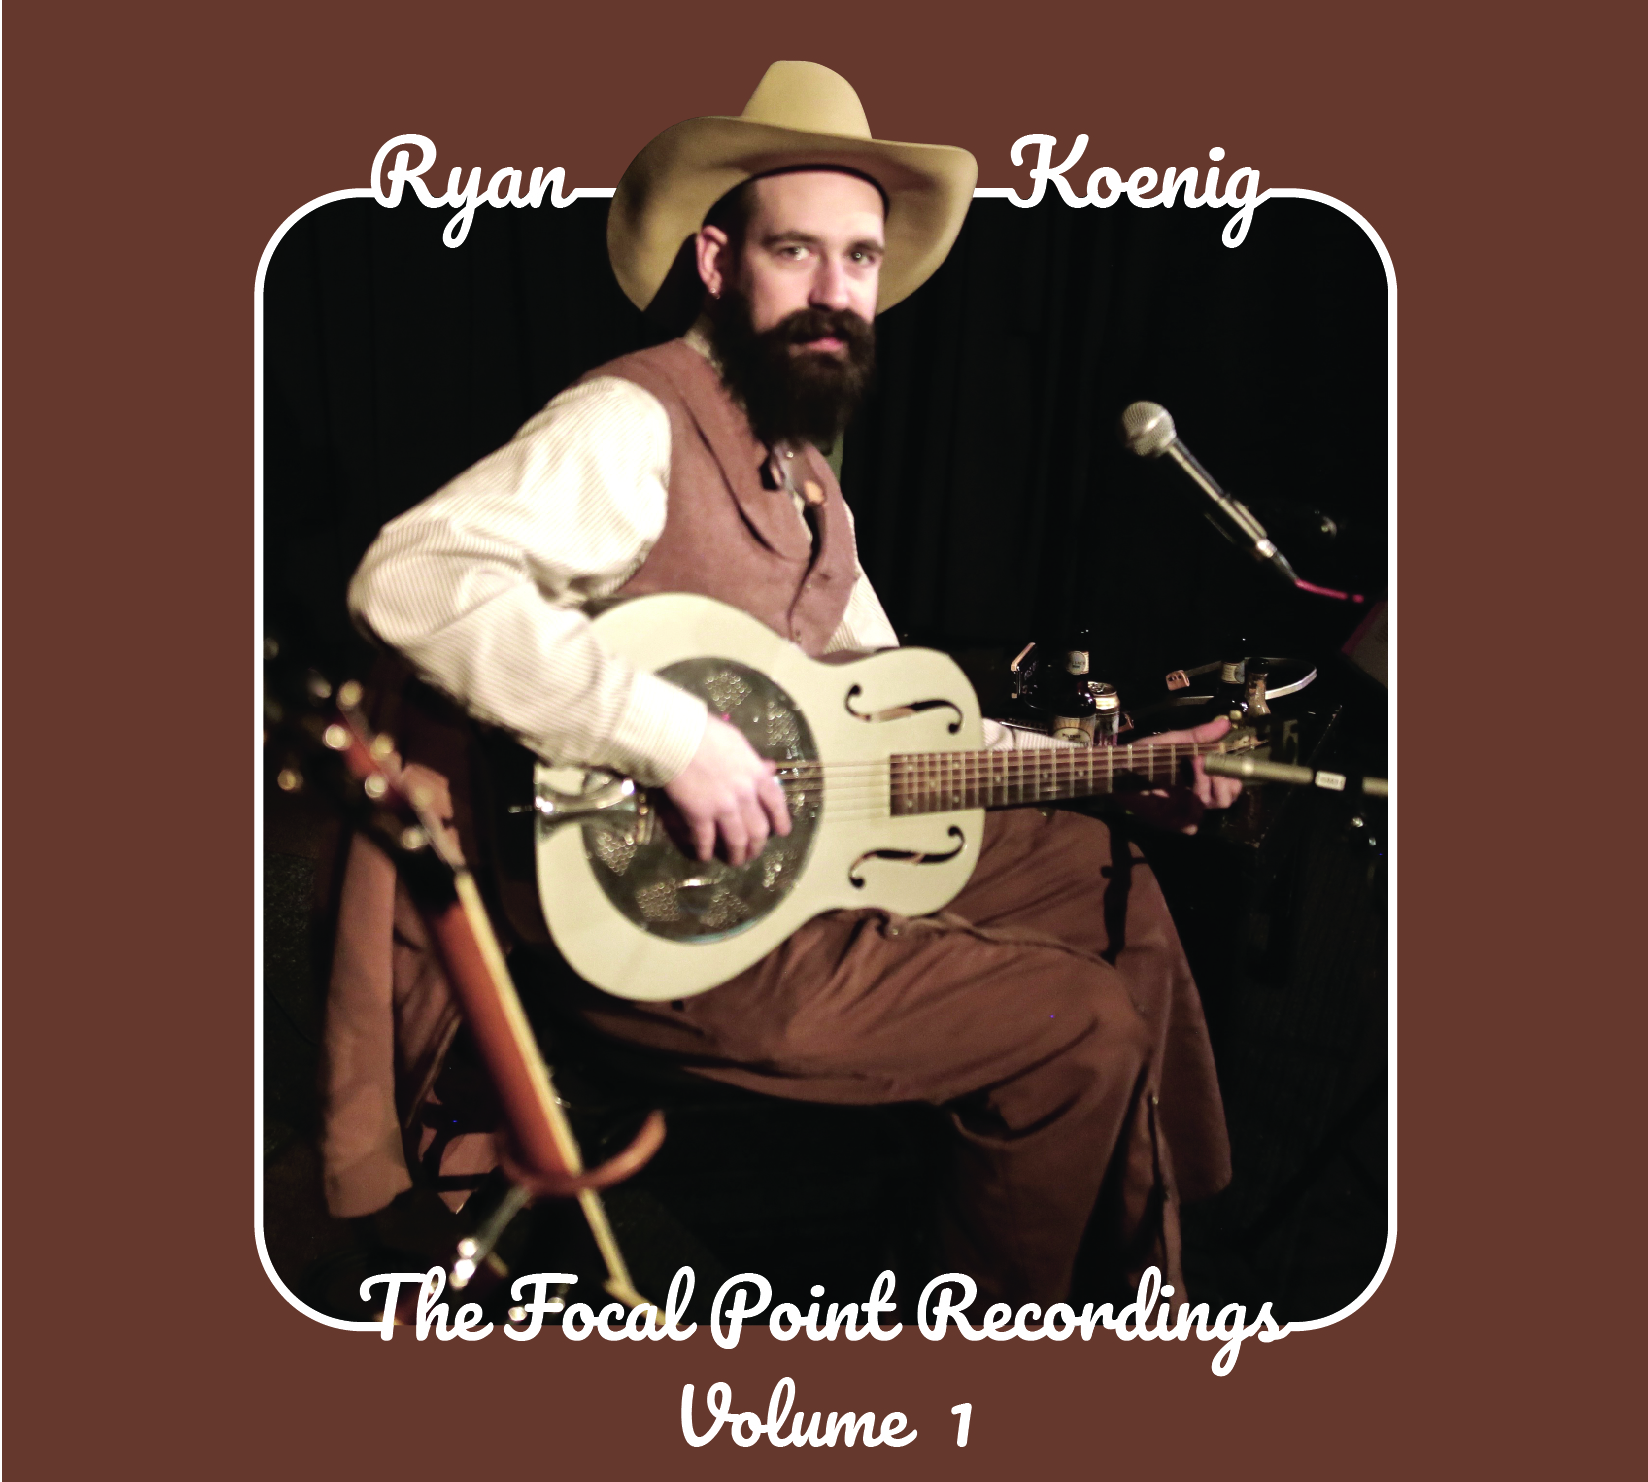
Focal Point Recordings: Vol.1 (2018)
Photos: Nate Burrell / Layout & Design: Jackie Teuber
Self Titled (2018)
Photos: Nate Burrell / Layout & Design: Neil Luke
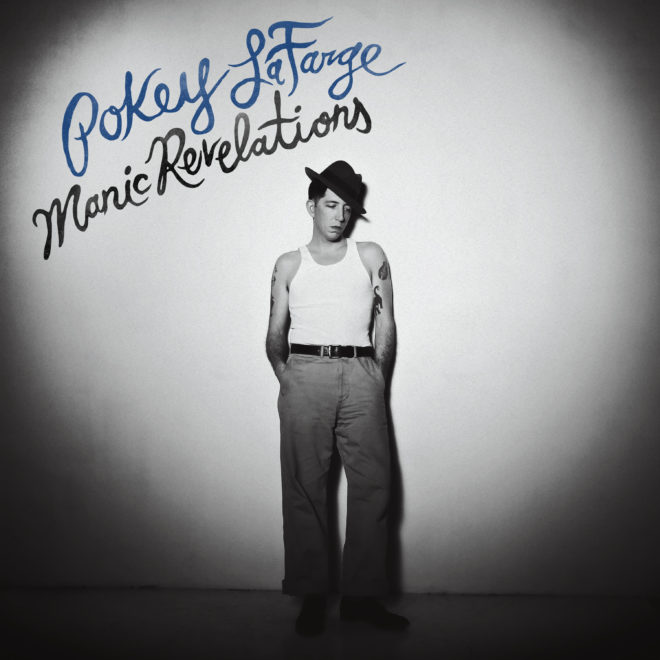
Manic Revelations (2017)
Photos: Nate Burrell / Layout & Design: Rounder Records
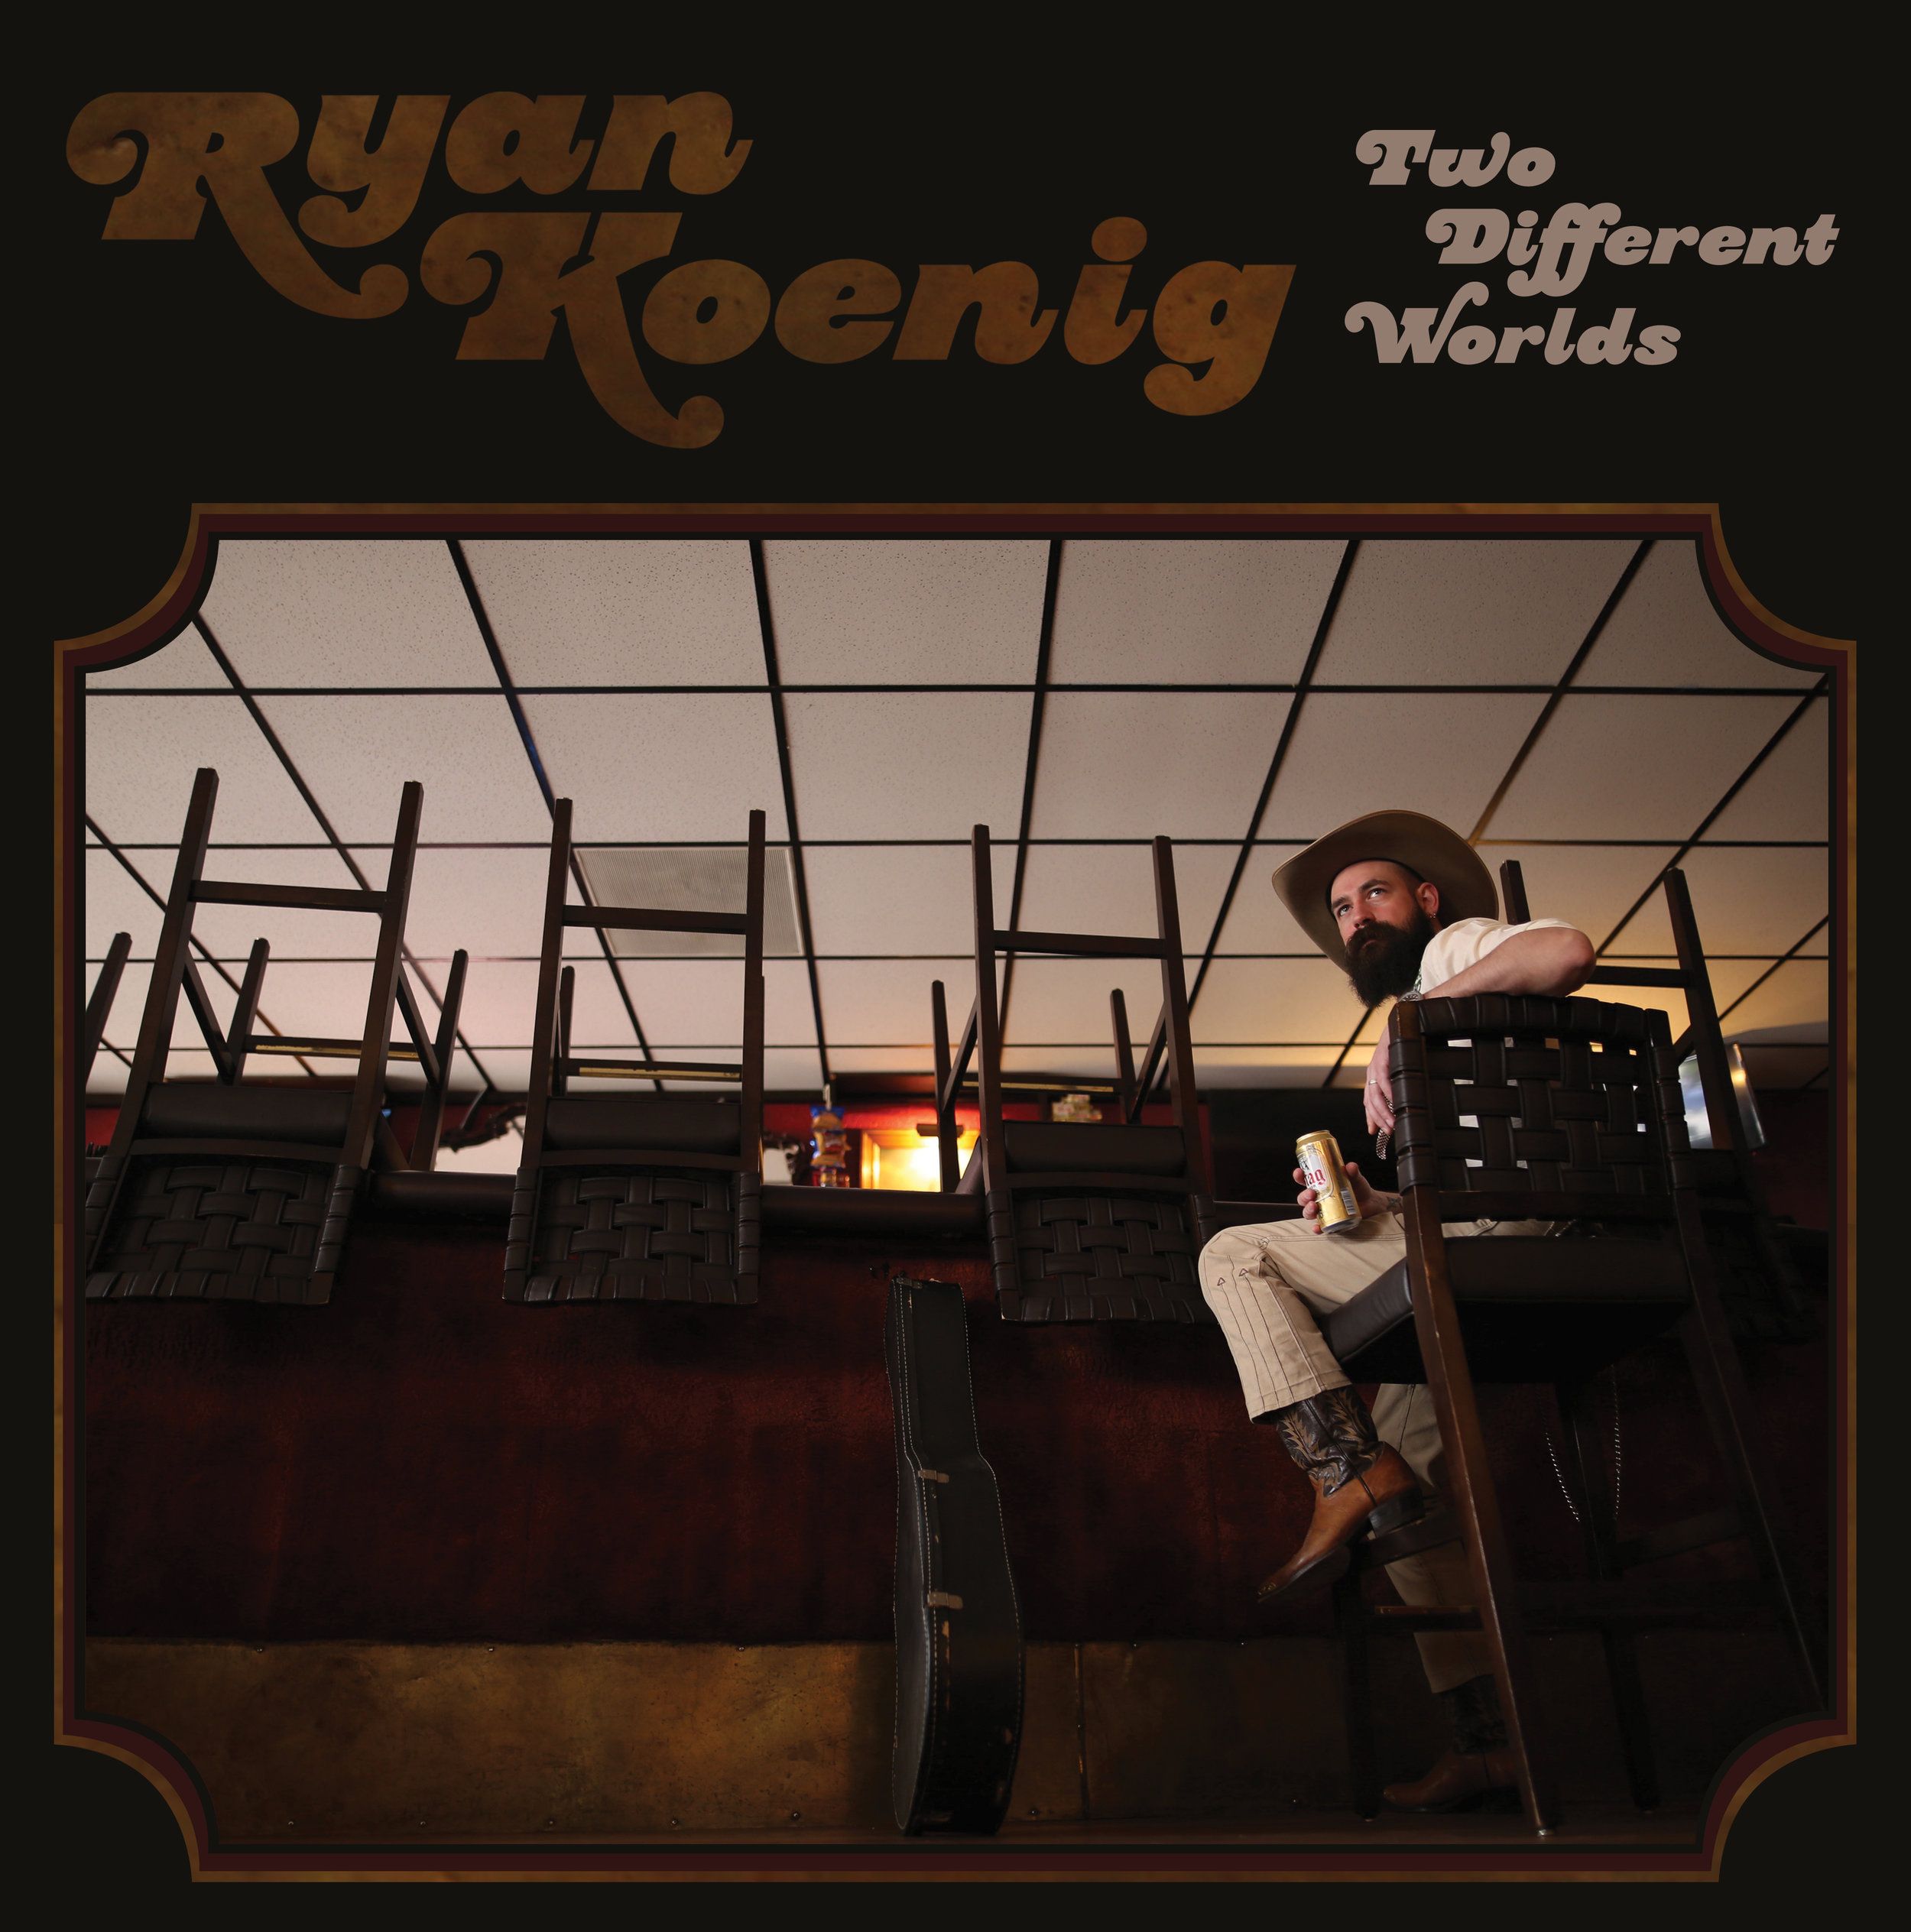
Two Different Worlds (2017)
Photos: Nate Burrell / Layout & Design: Julia Van Horn
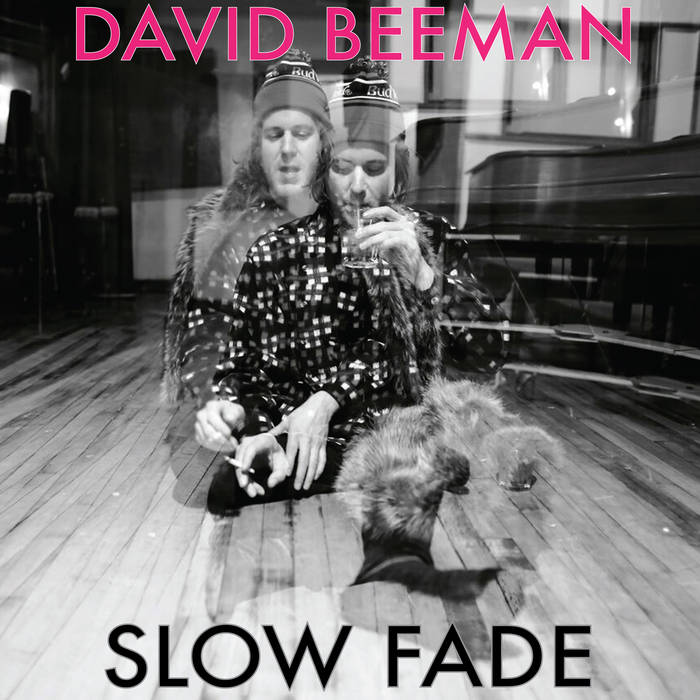
Slow Fade (2017)
Photos: Nate Burrell / Layout & Design: Jeremy Joyce + Casey Miller
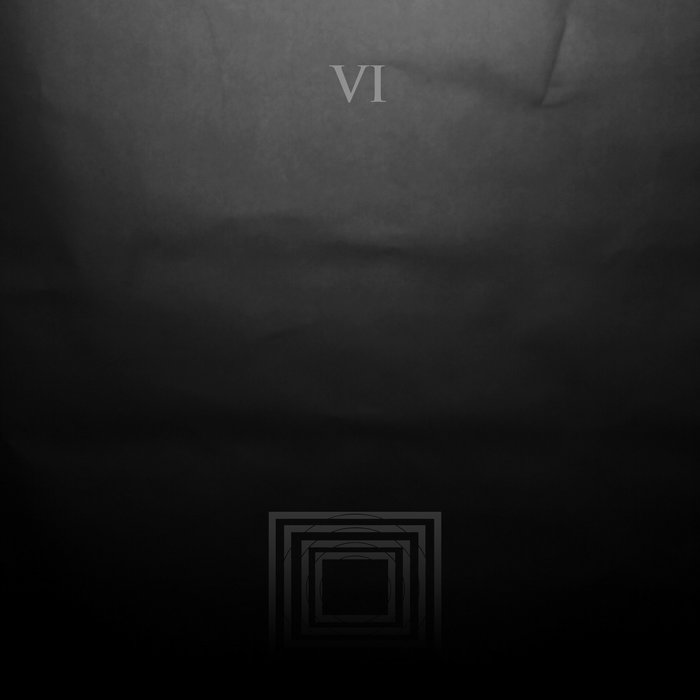
Prologue VI (2017)
Photos: Nate Burrell / Layout & Design: Damon Davis
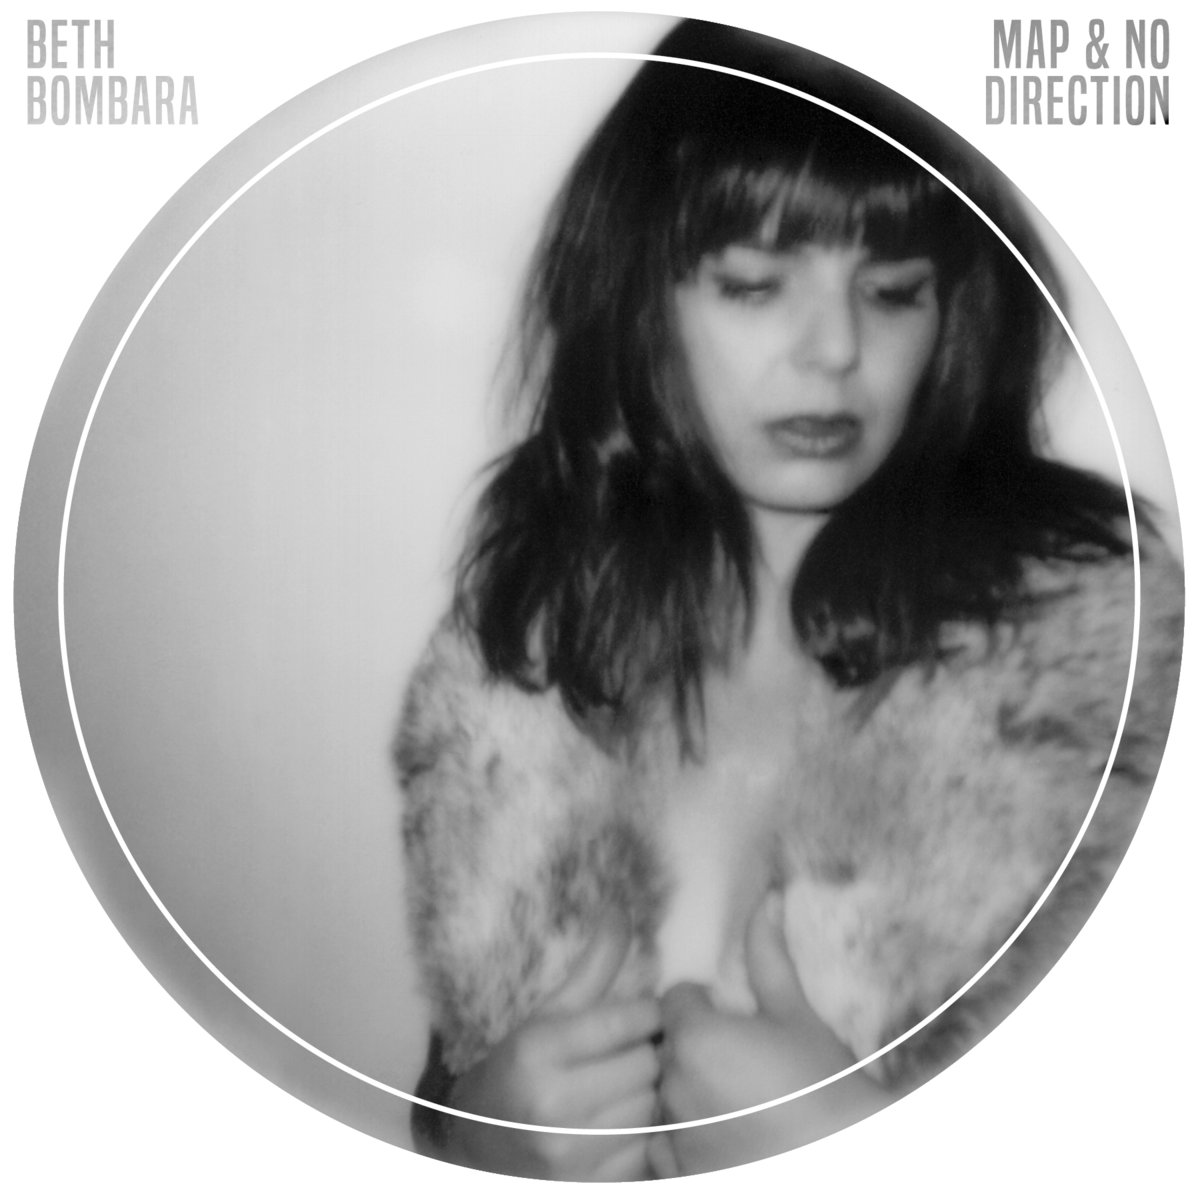
Map & No Direction (2017)
Photos: Nate Burrell / Layout & Design: Kit Hamon
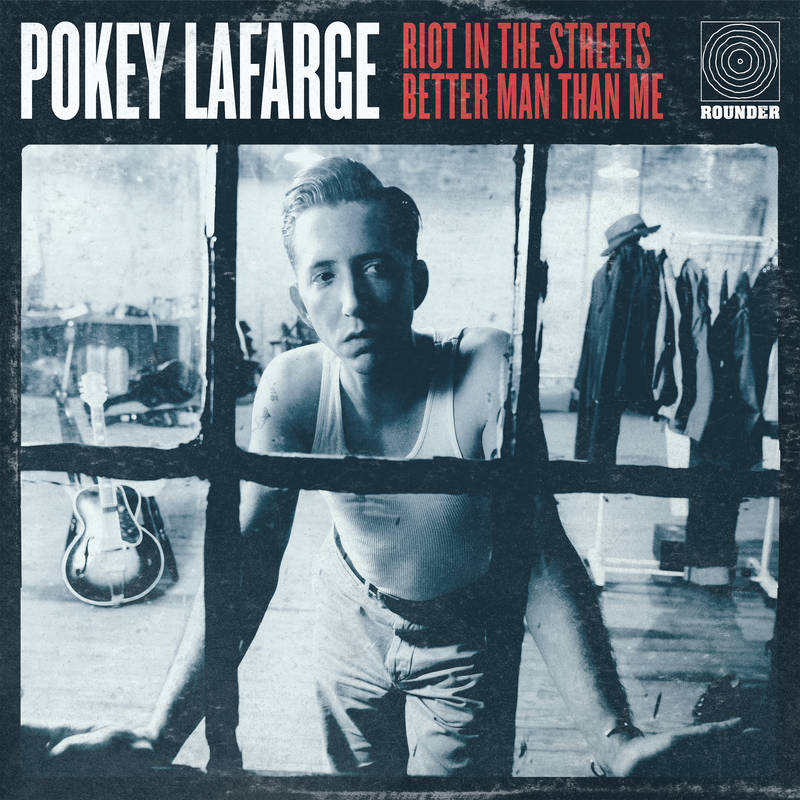
Limited Edition RSD Release (2017)
Photos: Nate Burrell / Layout & Design: Rounder Records
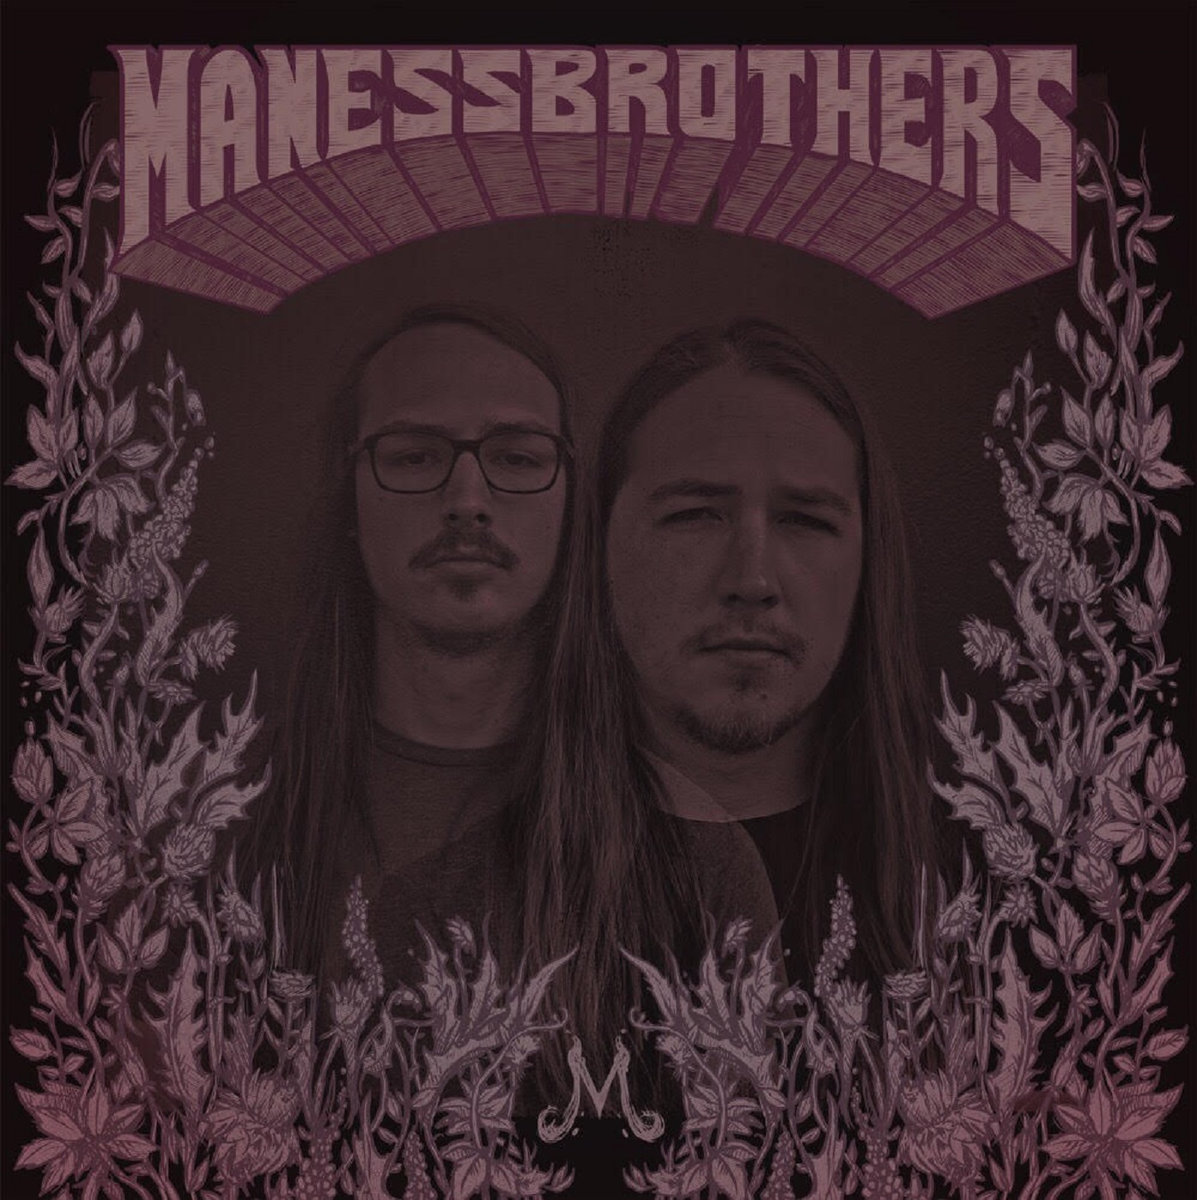
Maness Brothers (2017)
Photos: Nate Burrell / Layout & Design: Killer Napkins
Burning Moonlight (2017)
Photos: Nate Burrell / Layout & Design: Big Muddy Records
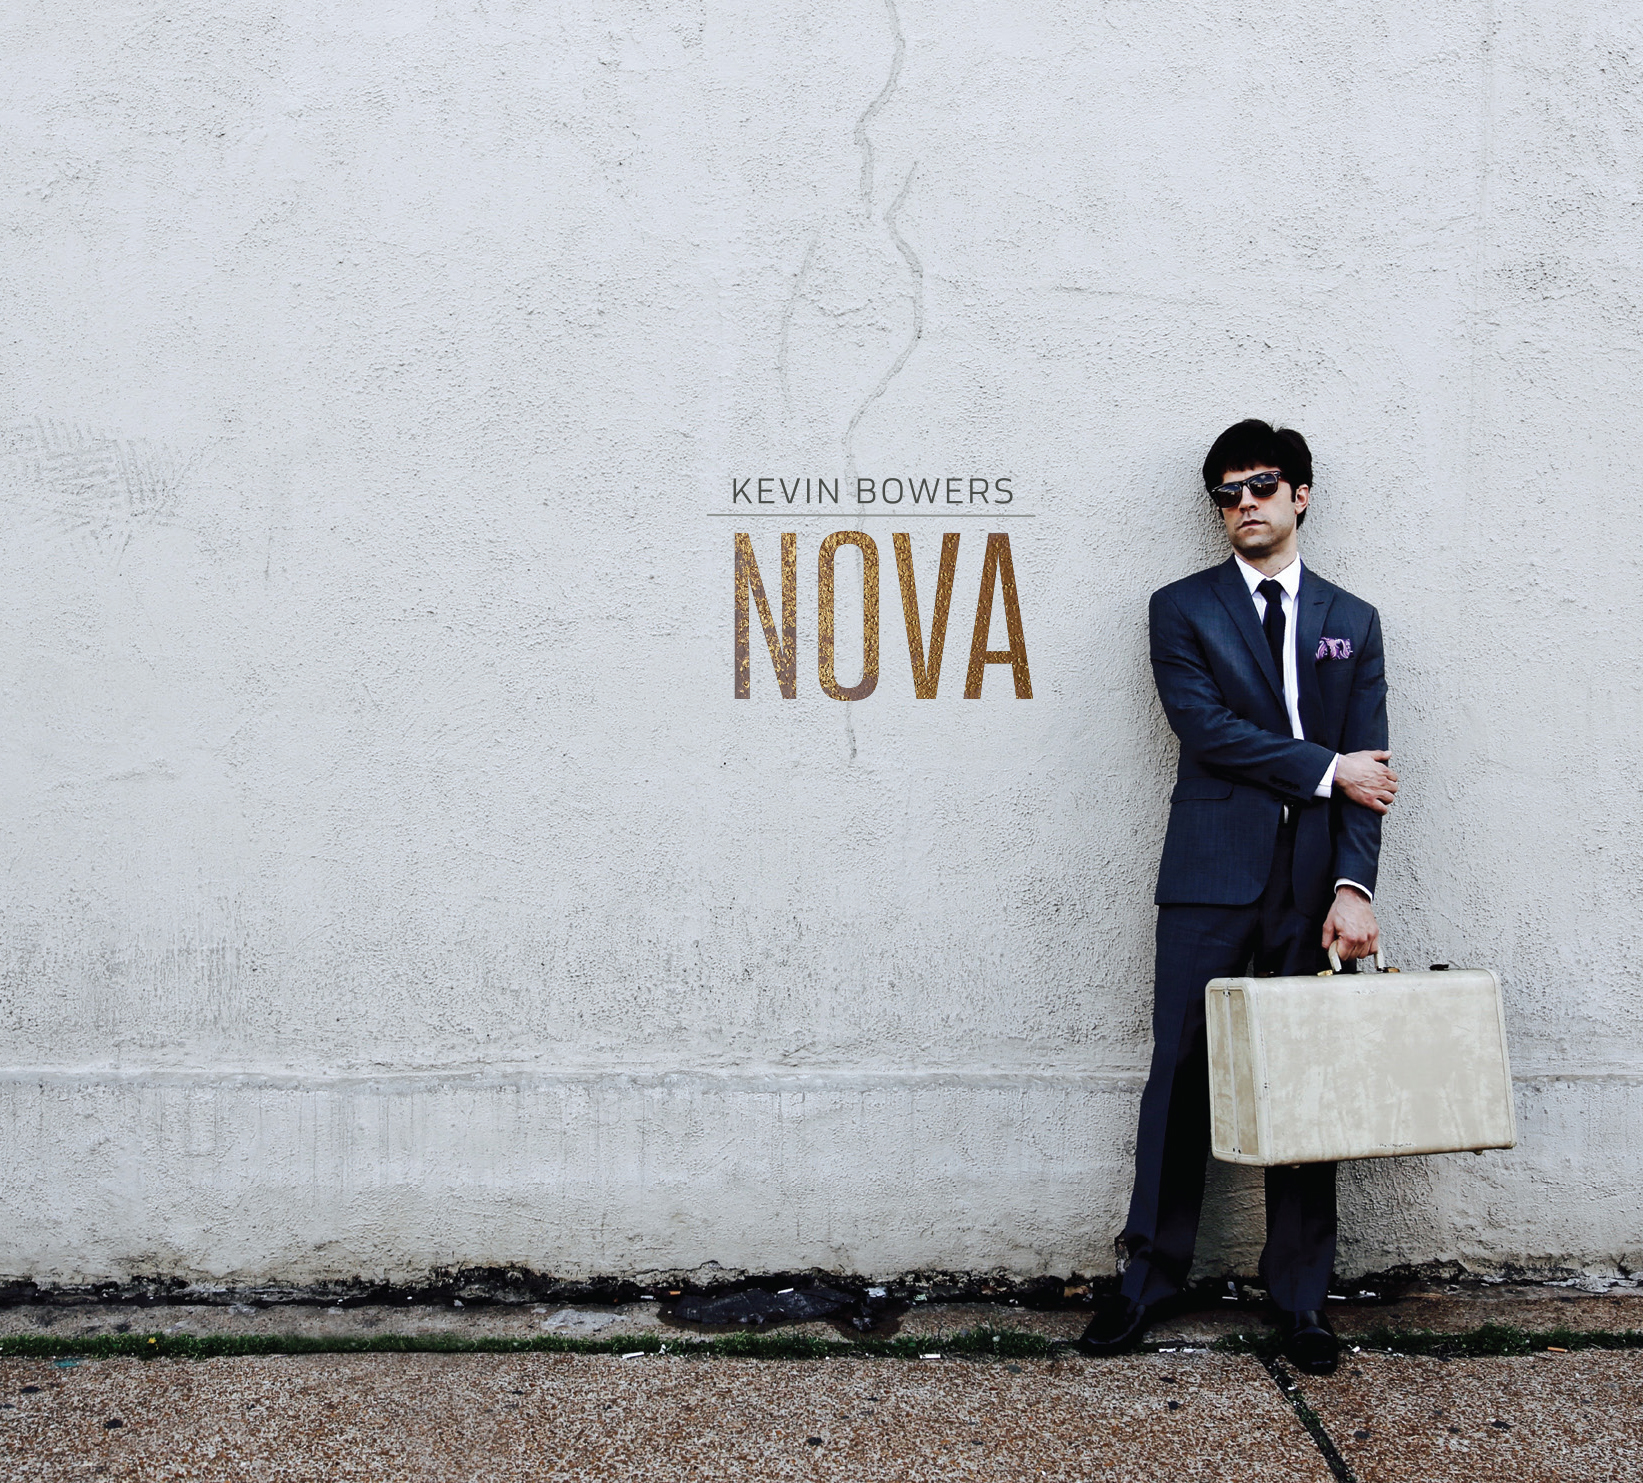
Nova (2016)
Photos: Nate Burrell / Layout & Design: Karl Eggers
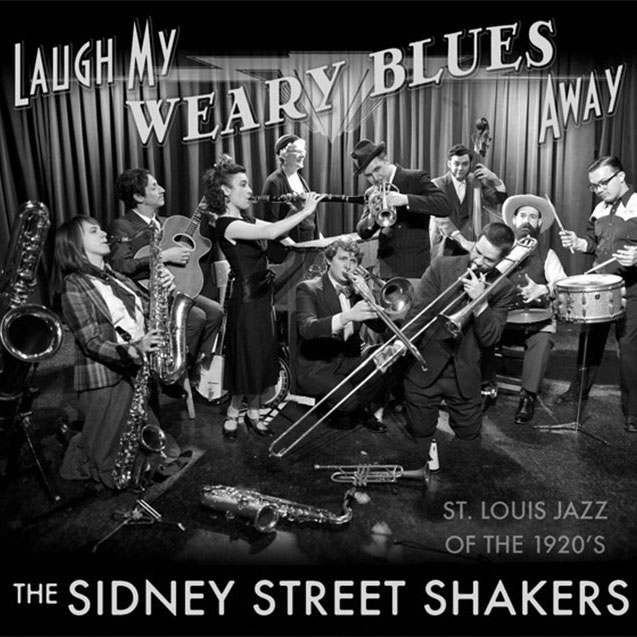
Laugh My Weary Blues Away (2016)
Photos: Nate Burrell / Layout & Design: Big Muddy Records
iii (2016)
Photos: Nate Burrell / Layout & Design: Karl Eggers
self titled (2015)
Photos: Nate Burrell / Layout & Design: Karl Eggers
Dark City Dark Country (2016)
Photos: Nate Burrell / Layout & Design: Karl Eggers
self titled (2015)
Photos: Nate Burrell / Layout & Design: Karl Eggers
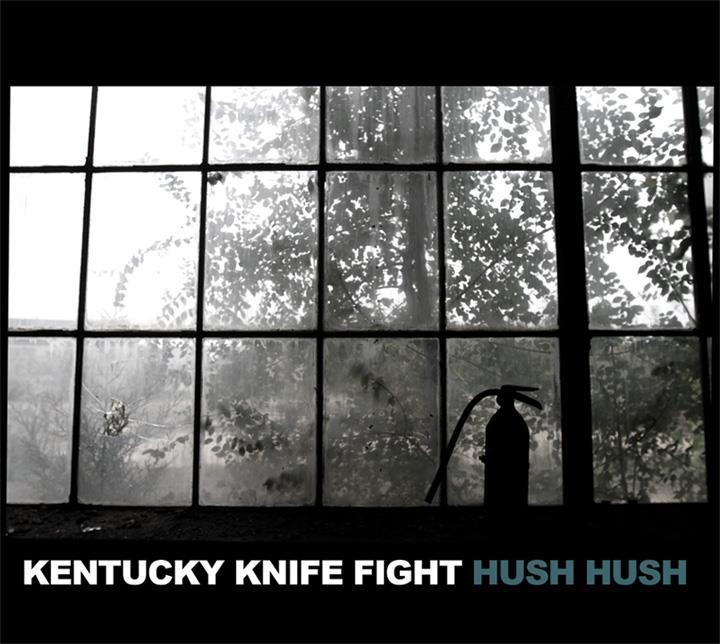
Hush Hush (2014)
Photos: Nate Burrell / Layout & Design: Nate Jones
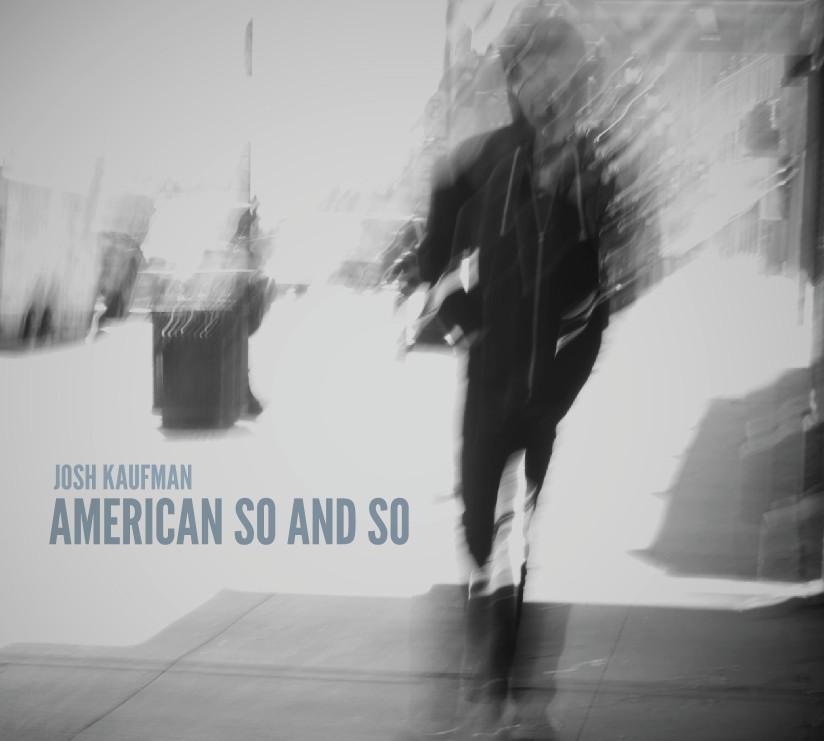
American So and So (2013)
Photos: Nate Burrell / Layout & Design: Karl Eggers
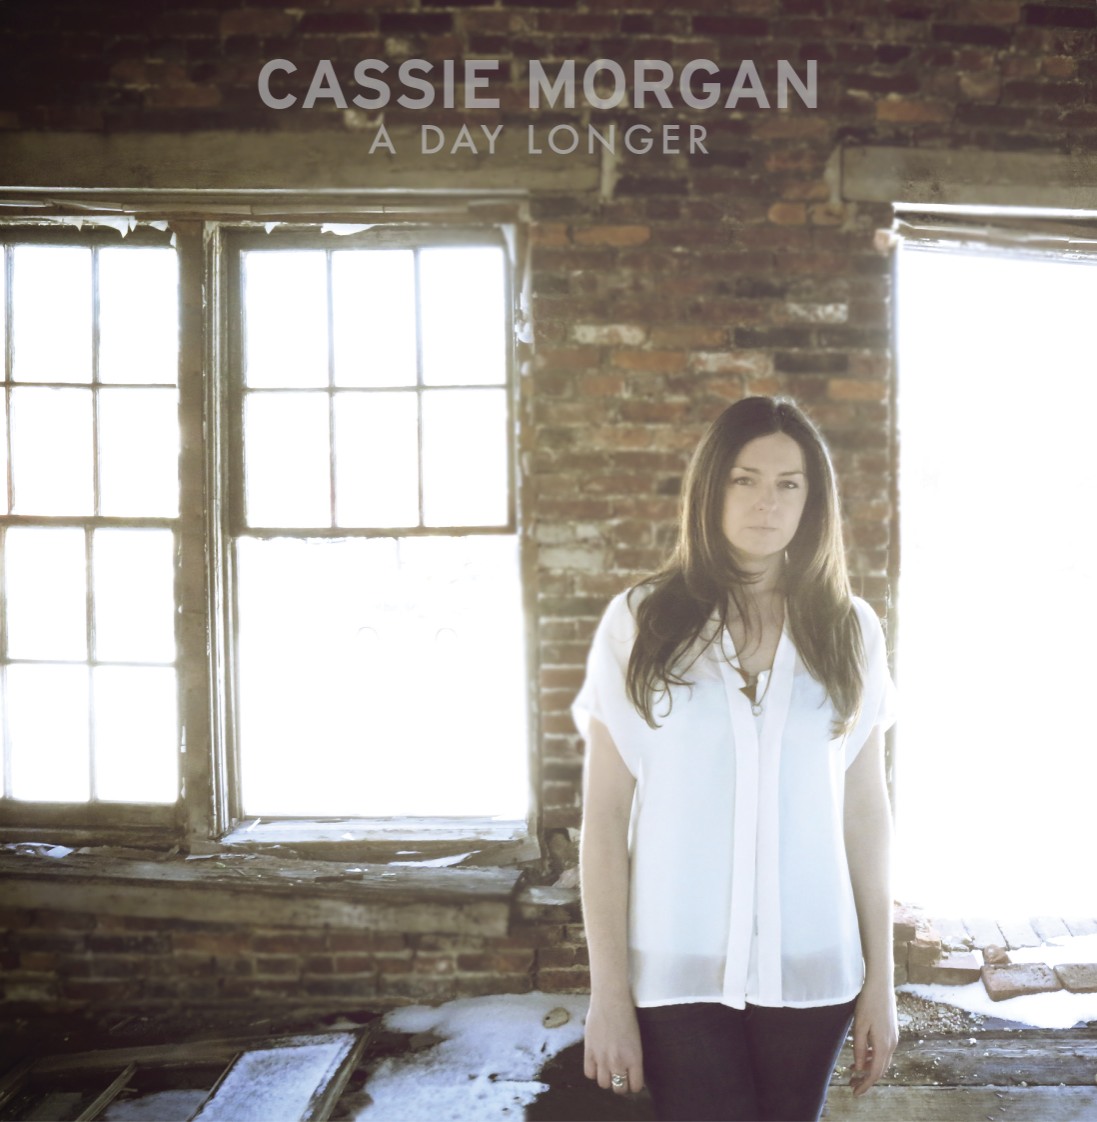
A Day Longer (2013)
Photos: Nate Burrell / Layout & Design: Karl Eggers

Married To Your Ghost (2013)
Photos: Nate Burrell / Layout & Design: Karl Eggers
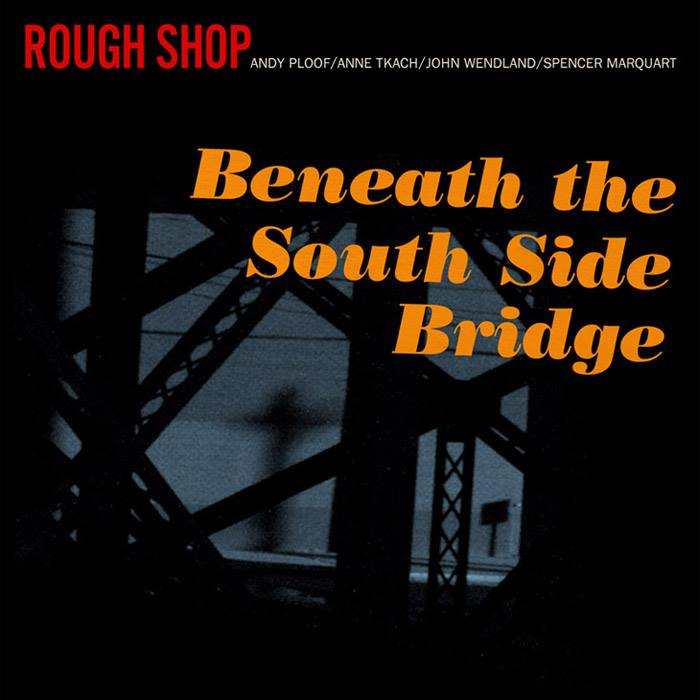
Beneath the South Side Bridge (2012)
Photos: Nate Burrell / Layout & Design: Sleepy Kitty
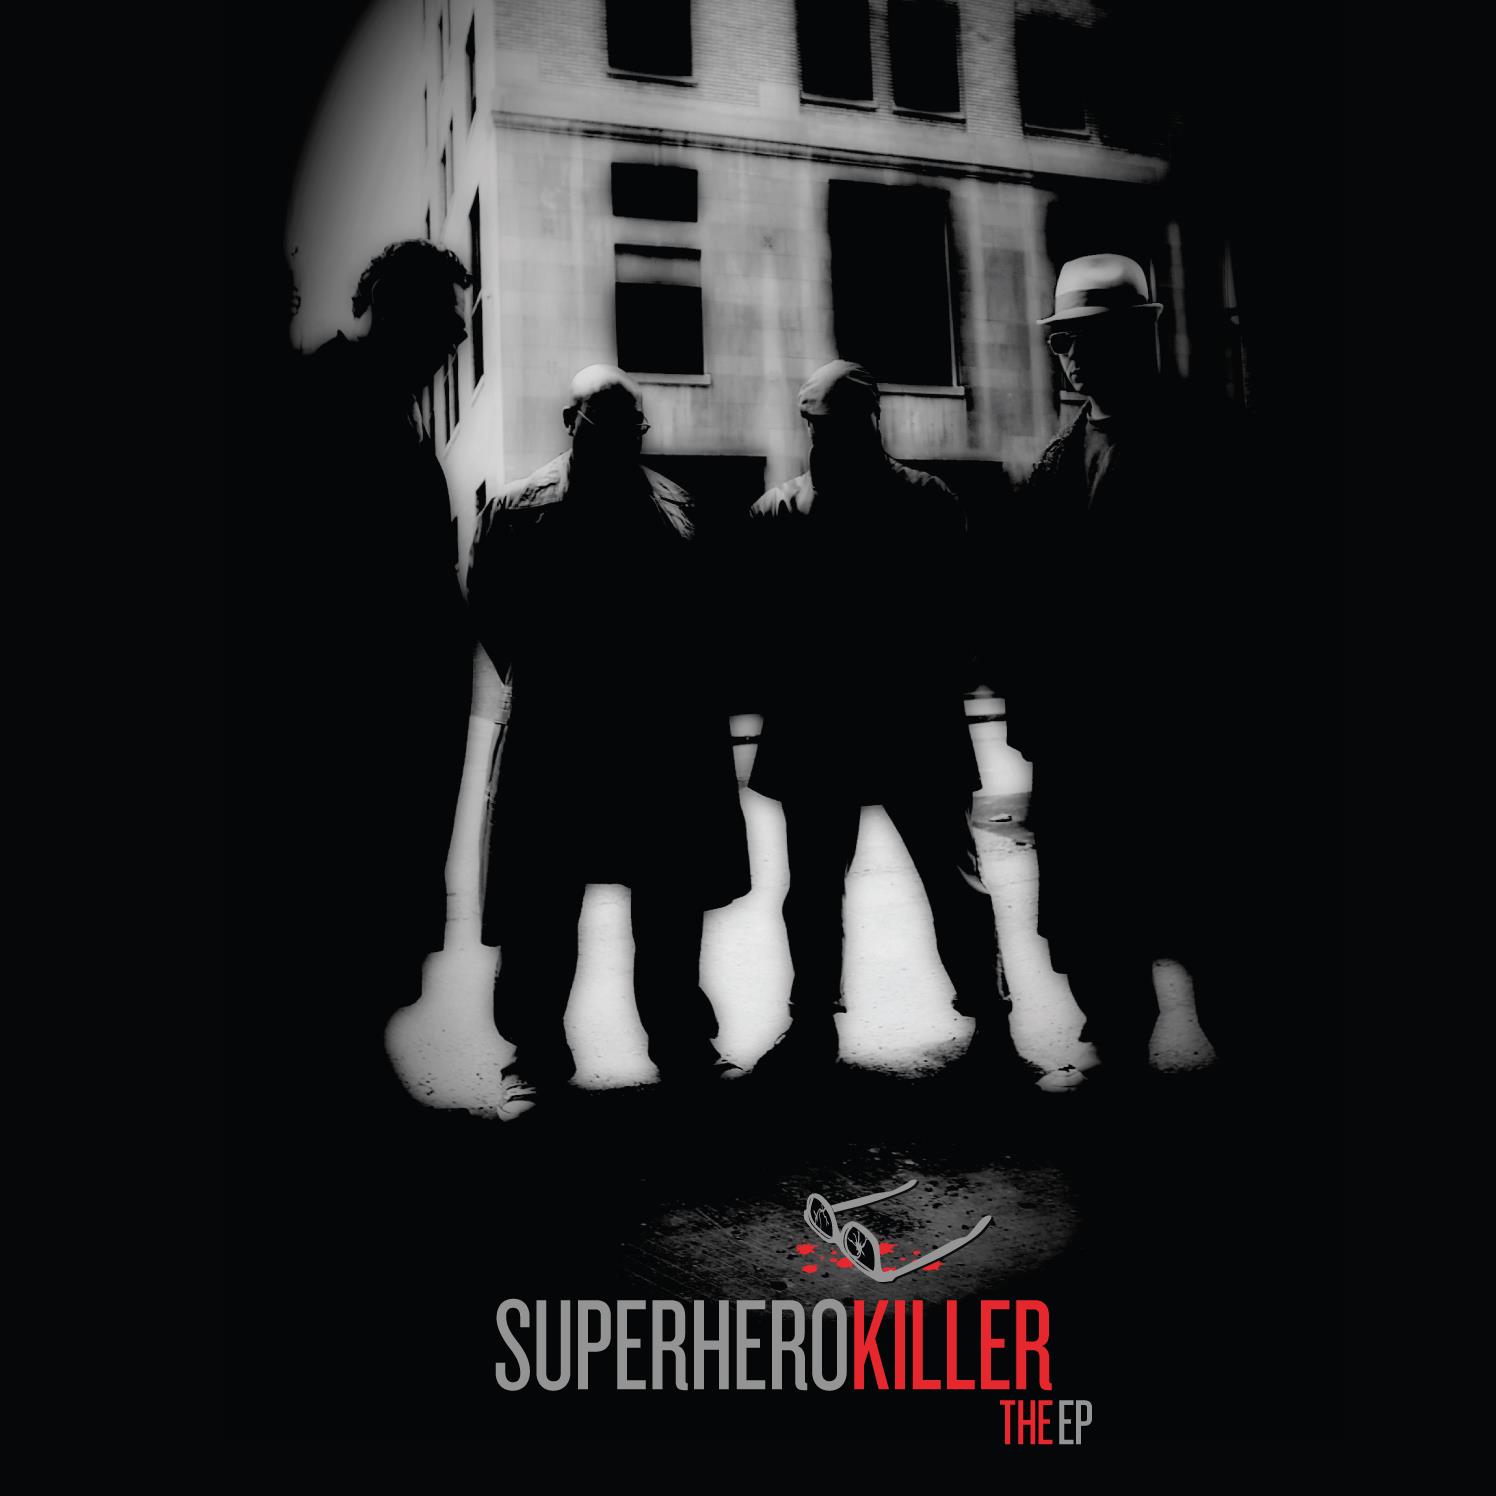
The EP (2012)
Photos: Nate Burrell / Layout & Design: Ryan Albritton
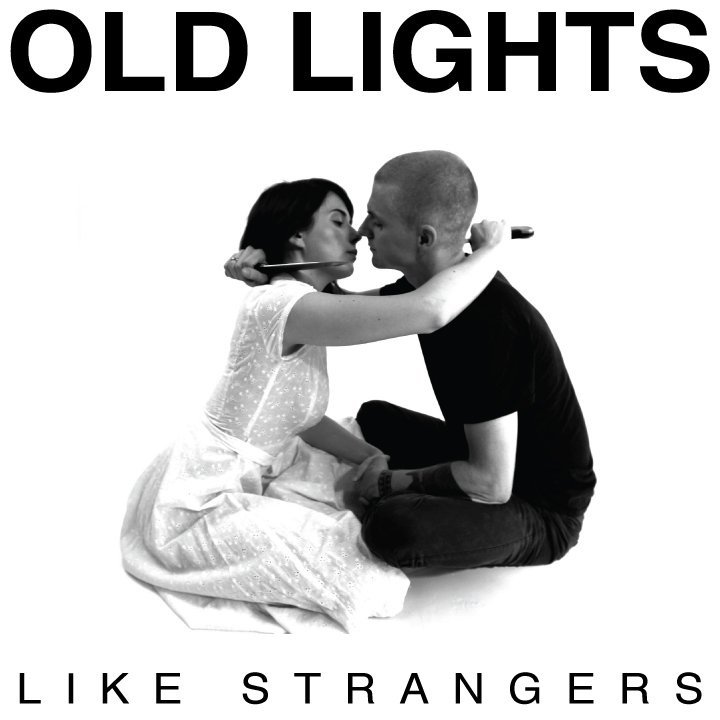
Like Strangers (2011)
Photos: Nate Burrell / Layout & Design: Kristin Dennis
